Showing posts with label Fiskars. Show all posts

Thursday, July 10, 2014

Create for a wedding...

Just a quick post with some wedding inspiration.  The top card is a simple gate-fold.  Open the doors, and the sentiment is inside.  The tulle bow and rectangular strip with the words on it are actually just glued onto the left "door" so you don't have to untie it to get to the inside.
There are no more purple paper scraps in my stash since I used them all to punch a bunch of tiny flowers to fill the heart that I drew on the front of this card.  A little putzy, but simple and the patterned paper does all the work (it's from DCWV).


Another simple card.  I ran a white piece of paper through a dotty embossing folder, and then punched a bunch of Fiskars Funky Hearts to fill the front of the card.  I punched two additional hearts with red glitter POW paper--it's from American Crafts, and I've mentioned  it before.  I love it because it is thin and the glitter is part of the paper (not sitting on top), so it is punch-able and NOT messy.

Best wishes to the newlyweds!
~Kelly


Pin It

Friday, October 18, 2013

Be kitchen inspired...

 Sometimes, when I am feeling un-inspired, and I am tired of  "pinteresting", or"blog hopping", or "googling",  I just try to scope out what is around me.  That's what the Scrap it Girl Design Team is doing this month as we scope out our own kitchens for color. 

My kitchen is "apple inspired" and Red Delicious Red and Granny Smith Green are my colors (along with black and white).

Just used some scraps, Fiskars hexagon punches, ribbon, and some white acrylic paint to whip up some birthday cards.  Now, it's time to go "whip up" something for dinner. 

Play along with the October Challenge at Scrap It Girl (I am the  hostess, so there is a great prize pack for the winner)---create anything using colors inspired by your kitchen.  Come see what the DT is "cooking"!


~Kelly


Pin It

Friday, August 2, 2013

Be a memory keeper...


I am the memory keeper of the Starsky family.  It's the reason I am not in very many photos.  It's the reason my children roll their eyes everytime I say, "wait, let me get my camera".   It's the reason I have a page of quotes from our family on my ipod.  It's the reason I scrap. 


The challenge this month at Scrap It Girl is MINI-BOOKS.  It was the kick I needed to make this family dictionary that has been an idea in my head for a VERY long time.


I used this fabulous paper from My Mind's Eye for the front and back covers.  I covered these wood rounded rectangles from my stash with the paper-- making sure I spread the glue thinly all over, right up to the edges (I used Tacky Glue).

 
I sanded the edges to make sure the paper and the wood were like one.
 
 
Then, I inked the edges.


Then, the fun part.  I cut lots of papers into 4x6 cards and typed the definitions of all of our family sayings.  It's all of our "secret codes" and all of the phrases, sayings, and names we have for things that are unique to our family.  We had kept a list on the fridge for about a week and just kept adding to it when we remembered one.  I used paper colors that coordinated with my front and back cover (turquoise, aqua, olive, lime, kraft brown, etc.)


I used my sticker stash for the word/phrase at the top of each page.  What a great way to use up my stash of alpha stickers (however, my stash doesn't appear to look any smaller--hmmm).


On some of the pages I added washi tape or a piece of ribbon or paper trim. 
 
On the top or side of each page I added a shape, tag, tape, or border and then glued two cards together (so the tags and shapes stick out between the two cards).
 

After decorating the front cover with some Sizzix alphabet letters, I punched holes in all the cards, drilled a hole in the covers with my Fiskars Hand Drill , slid in a ring, and tied a few ribbon scraps on the ring.

So, now it is your turn.  Make a mini!  Take the Scrap It Girl August Challenge--there is a great prize pack too!

~Kelly


Pin It


Thursday, August 1, 2013

Be on time...


It's August 1st.  How many blogs will start today with, "where has the summer gone"?  I'm going to relish the fact that there is still a whole month (almost a whole month) before it's back to work and school.  Done talking about that non-sense. 
 
So, I showed you this project last week highlighting the Close to My Heart papers and stamps.  It's time for a second look, but this time we are focusing on something else!
 
It's time to focus on these FUN shapes!  I'm very excited to be part of the Linnie Blooms Design Team.  This is my first "official" project, and I used the sun/sunflower, leaves, and butterfly shapes as part of my August shadowbox.   (You can also see the project I posted yesterday that was from the class I took at the  Linnie Blooms store last week).


I used Distress Stains to color the butterfly, flower, and leaves; making a puddle of stain on my craft mat, spritzing the puddle with water, and then dipping, folding, and squishing the shapes in the puddle. 
 
I then outlined the shapes with Copic markers.  I love how the Linnie Bloom shapes don't absorb the color uniformly when you use this dip-dye method.  They are naturally inconsistent---just like from nature.


Now, Linnie Blooms has an August "I Spy" game going on.  Keep track of the number of shapes that I used (here is a hint--some of them are double layered--look closely).  And, keep track of the number of shapes you see on each of the Design Team projects at the Linnie Blooms Facebook page all month and you can win a wonderful Linnie Blooms prize package (more info here). 


And, here is me...designer of the week!


Can't wait to see if you win?  Want to get your own Linnie Blooms shapes right now?  SHOP HERE.


~Kelly


Pin It

Tuesday, July 23, 2013

Be open...


I've been trying to "be" a lot of different things this year on my blog.  And one thing that I wanted when I started this blog was for it to push me, expand me, "open" me.  To new ideas, new people, new techniques, and new projects.  It has done that and I want it to continue.  So, I am expanding into some mixed media projects.  I have decided to try and keep up with this home decor project for each month that I started last month (see July project here). 


Chevron background stamp=CTMH Who's Your Valentine
Bicycle, Sentiment, and Clock=CTMH Enjoy Life
Paper=For Always and Surfs Up
Canvas Flower=Linnie Blooms (http://lindabarutha.com/shop/)
 
 
Lori Brown, a Close to My Heart consultant, sent the Chicagoland Scrapbooker Design Team some papers to play with, and "oh my flowers" did I play! For this project I used papers from "For Always", "Buzz and Bumble", and "Surf''s Up".


Flowers=CTMH Just for You stamped on pages from an old book
August background=CTMH Cherish the Day stamp
Paper=For Always
Canvas Butterfly= Linnie Blooms (www.lindabarutha.com/shop)


You might have noticed those cute canvas shapes (flower and butterflies) that I used too. More focus on those coming soon, but you can check out those and more shapes at Linnie Blooms.
 
Hexagons=CTMH Honeycomb Flair, then cut with Fiskars Hexagon large squeeze punch
Paper=Buzz and Bumble


All this week, you can also see what the other Chicagoland Scrapbooker Design Team members did with all of the CTMH papers.  Check it out at the Chicagoland Scrapbooker blog (there is a CONTEST too).

And, a BIG "thank you" to Lori Brown for letting us play with these beautiful papers. Don't forget to visit her site too, right here.


By the way, just because I am posting an "August" project does not mean I am ready for August.  I'm going to hold onto July real tight for as long as I can.

~Kelly


Pin It


Wednesday, November 21, 2012

Whatever keeps the kids busy...


Want to keep the kids out of the kitchen while you are preparing the Thanksgiving eats?  Take a little time today to create these Thanksgiving bingo placemats that I created for the Fiskateer site.  The kids will probably "attack" each relative as they walk through the door as they eagerly try to fill their placemats with the signatures of the relative who has a cat...the one whose favorite color is orange...who has won a race...who is afraid of spiders...who still has leaves to rake in their yard.  Create your own family facts and make this very simple paper placemat.  I printed the phrases on to the papers and then let the kids help punch and glue on the shapes.  It's a great way to use up scraps (and to inventory that collection of punches and dies you've been hoarding). 

 
Wishing you and your family a very thankful Thanksgiving!
 
~Kelly
Pin It


Tuesday, November 20, 2012

Whatever is festive...

These two-sided turkey candle rings are highlighted over on the Fiskateer blog today...go take a peak!


~Kelly
Pin It

Friday, October 26, 2012

Whatever is orange (and black)...


Welcome to the 3rd Annual Fiskateers ORANGE Blog Hop!  If you are hopping along, you should have come from...
Divinity #6688 www.scrap-n-patch.blogspot.com

If you are joining us in the middle, go to www.fiskateers.com to start from the beginning.  Today, we are celebrating Fiskars' signature color, ORANGE.  Almost everyone is familiar with Fiskars' famous orange-handled scissors, but Fiskars makes so many other wonderful products for crafting, sewing, gardening, and more.  Each stop along our Blog Hop will feature different Fiskars' products with a big helping of ORANGE!


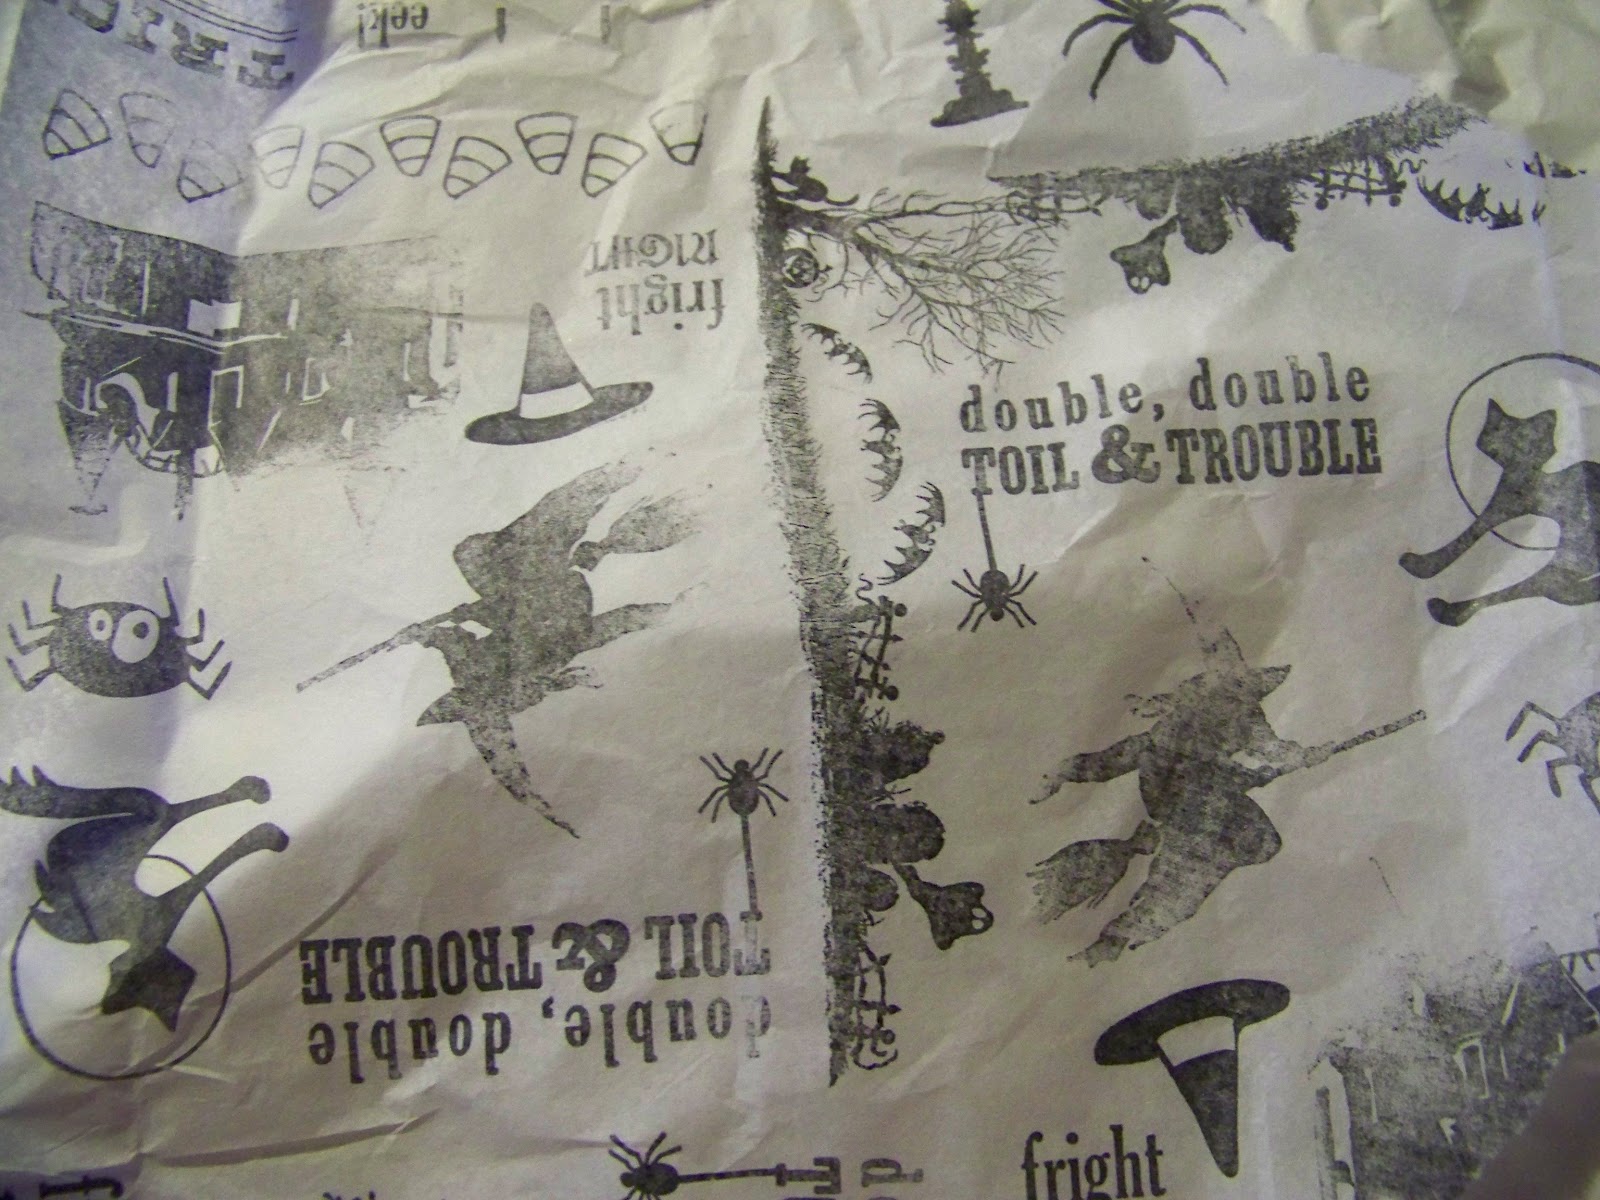
For my ORANGE project, I decided to make something a little scary!  Just a little scary for me too...I had never made a home decor collage project.  Although, all scrapbook pages are sort of a collage, and I'd created banners, this was different for me.  Lots of steps and layers were a bit intimidating, and I placed and re-placed and positioned and re-positioned all of the elements a zillion times before I started gluing.  I started by arranging (and re-arranging) an assortment of Halloween stamps onto my Fiskars stamp press as seen below.
 
 
Then, I stamped randomly on some white tissue paper using black Stazon ink.
 
 
I glued the tissue onto a thick sheet of cardstock.
Next, I started inking with Tim Holtz Distress Inks and Stain...more randomness


I started punching and cutting...I spy with my little eye Fiskars Grandma's Doily, a small cloud (as clouds and ghosts), a small bare tree, and I used my Fiskars Ultra Shape Xpress to cut this tree from the Woodland Tree Template (the checkerboard-like, flocked paper is from My Mind's Eye).


Then the arranging and layer began (that part lasted a long time).  Finally gluing.


Thanks for stopping by...
Now, all fun blog hops have a few sur-prizes thrown in!  Leave a comment below, telling me one thing you want to create but never have yet.  I'll choose a winner on Monday who will receive some "happy mail".


For more information about Fiskars and the Fiskateer program, you can go to http://www.fiskateers.com/join/.

Now, along to my friend Maya #351 at www.mayadahan.blogspot.com,
she's the next blog on the hop.
 
~Kelly
Pin It

Monday, October 8, 2012

Whatever changes...


The leaves have changed from green into their vibrant autumn colors...and now they are dropping...quickly. 

So, I thought I better quick make some cards to celebrate and capture this ever-changing season.  Used my new Tim Holtz "blueprint" stamp of an oak leaf for the background and then added several colors and some clear embossing powder to highlight and pop the one on the corner. A few punches of my "Oakey Dokey" Fiskars squeeze punch and bonus points for digging out the sewing machine too!  Thanks to Fiskateer Heather for inspiring me and the "Card-Lifters" this week.  This was how I celebrated "World Card-Making Day" on Saturday. How did you participate?

Hope you get some time this week to "sit and watch the leaves turn".  This season will be over before you know it.


~Kelly


Pin It

Monday, August 20, 2012

whatever is a challenge...


Since I will never be an Olympic athlete (I feel pretty secure in saying that it will NEVER happen), the next best thing is...participating in the Fiskateer games!

This week has been the Card Making Challenge and for me, 3 out of 4 ain't bad.  Now are you singing that old Meatloaf song?


Challenge #1: Make a "window" in your card.  I used an old Sizzix fence die and punched two different size flowers with an EK Success punch--with some pearl centers, you can peek through the window and into a virtual flower garden.  It says "a bunch" on the inside.  "Thanks a bunch!".  I'm kind of addicted to these handy Cosmo Cricket alpha stickers--I have them in 4 different colors (so far).  Not much room to write on the inside with this design, but I can always use the back.

Challenge #2 is to make a card with a decorative edge--this one has 6 decorative edges(from a Fiskars border punch)!  And, since I don't "tweet", I thought this would be a good way to compensate.


Challenge #3  had me making shaped cards.  I used an old Sizzix die to cut the paper on the fold.  I stamped the petals' patterns and the sentiment with some stamps from Close to My Heart (the "Just for You" set).  I used Fiskars squeeze punches for the centers and the leaves.  (And yes, you can see my still wet Glossy Accents on the orange one.  I stuck my finger in it while it was still wet and had to re-apply).


 I  neglected yard work (again) just to participate in my kind of "Olympics".  What have you been neglecting lately to get your crafty time?


~Kelly


Pin It