Showing posts with label pumpkins. Show all posts

Wednesday, October 1, 2014

Create a face...


It's all about the face...about the face...about the face. 

And these silly faces, from Unique Laser Designs, are pumpkin perfect for some spooky decor as autumn and Halloween come knocking on our doors.

I painted one side of each face with acrylic paint (different shades of orange).  I stamped a pattern on each with clear Versamark embossing ink, and then poured on UTEE (ultra-thick embossing enamel), shook off what didn't stick, and used the heat gun to watch it rise.

On the other side of each face, I glued on a sheet of patterned paper (I used the wood pumpkin as a stencil to get the perfect shape). I LOVE how the patterns show through the detailed cut-outs of the eyes, nose, and mouth. Next, I laid down twine to connect the three pumpkins and then glued another patterned paper pumpkin shape over that .


Included with the ULD pumpkin pack, are the "negative shapes" from the laser cutting process.  PERFECT for adding dimension as I used these "leftovers" to create MORE faces.

I tied some ribbon scraps on the twine and this is ready to spin and hang as a greeting to your Halloween visitors. EEK!


 ~Kelly

Pin It

Tuesday, October 18, 2011

Pumpkinspiration


I'm a guest over at www.bugaboominimrme.blogspot.com today!  It is PUMPKINSPIRATION time!  There are paper crafts, home decor, Halloween and Fall decorations, and more, more, more.  She even lets you take a peak at her Pumpkin Pinterest board!  Here is a sneak peak at my creation...


Tuesday, October 11, 2011

WARNING! Crafty kid ahead!

Witches...goblins...ghosts...all trying to get their hands on my scrappy paper supplies!  So, this week, I gave in!  My daughter and I created a simple, funky, paper pumpkin. 

First take some double-sided Halloween paper (or if you want to be "high-maintenance", like my daughter, have your child insist that you glue 2 single-sided sheets together).  Curve the paper in half (don't fold or crease).  The side that you fold "out" will be the inside when you are done, so think carefully about which side you want to see more of.  Use clothespins to hold the paper in place while your child cuts from the curved fold toward the edges, stopping about 1 inch before the edge.  We used some fun paper edgers, but regular scissors will do too.


Cut strips one inch wide all the way to the end and remove your holding clips.


This is where a parent is needed, or someone capable of using a hot glue gun safely.  Lay a strip of hot glue on the edge of one side of  your "inside" paper.  Turning your paper "right side out", line up the edges and adhere. 

Using a strip of scrap paper 1" x 2", hot glue this scrap to the inside edge of your rings.


Add a dab of hot glue to the end of the scrap paper and bring your rings around to connect and make a circle.  This could be a cool wreath too!


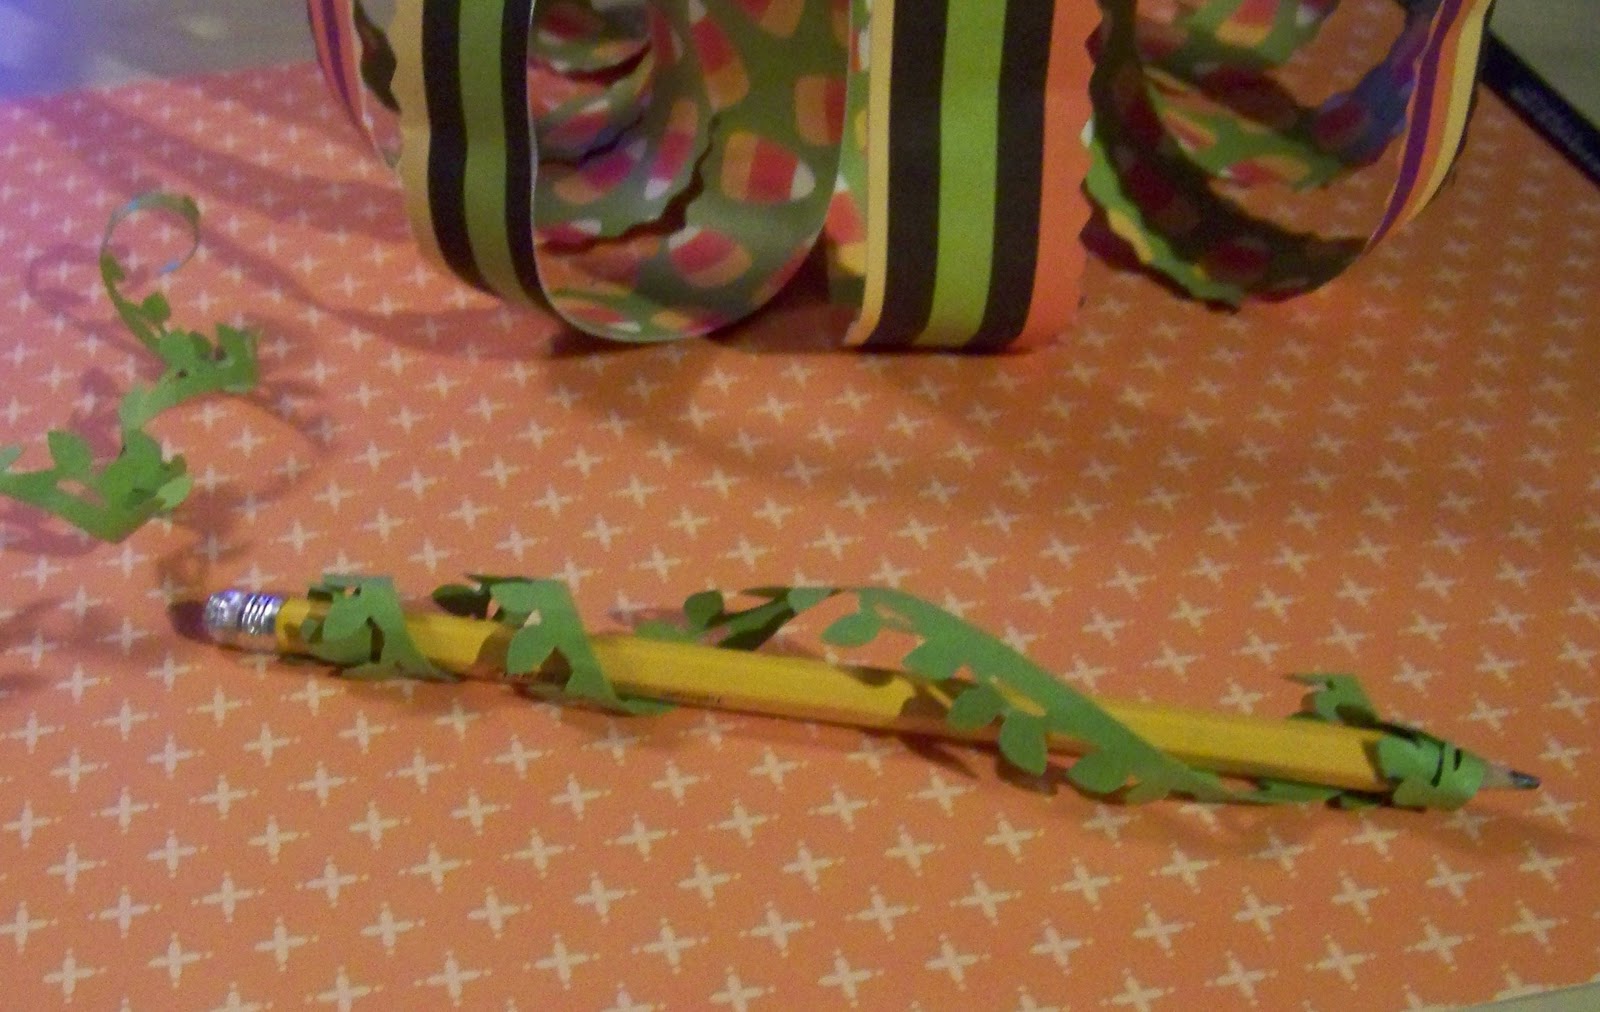
Now, according to "Fancy Nancy", everything is better when it is "accesorized".  This paper pumpkin is still not looking too "pumpkiny".   So, we cut strips of paper and used our Fiskars Leaves Border Punch to make vines.  We wrapped the border strips around pencils to give them that "real" vine look.


We added a crunched-up, used, paper lunch bag as our stem in the center to finish off our accessorizing. 

Wouldn't you love to find this funky pumpkin in your garden?  According to my daughter, it looks "MAHVELOUS"!


Supplies: Patterned Paper: Recollections, Tools: Paper Edgers: ProvoCraft, Border Punch: Fiskars, Other: cardstock, hot glue sticks and hot glue gun, brown paper lunch bag (used, recycle!)

Monday, October 11, 2010

Pick-a Pick-a Pumpkin from the pile...and a "banner" Halloween


I made these pumpkins about 5 years ago, and even though they get squished into a plastic bin for storage after Halloween every year, they've held up very well. Except a few have gotten their "stem" pulled out by a Golden Retriever I know that likes to chew on sticks (we should have named him "Chip").

They are "sew" easy...I thought I would share them with you.

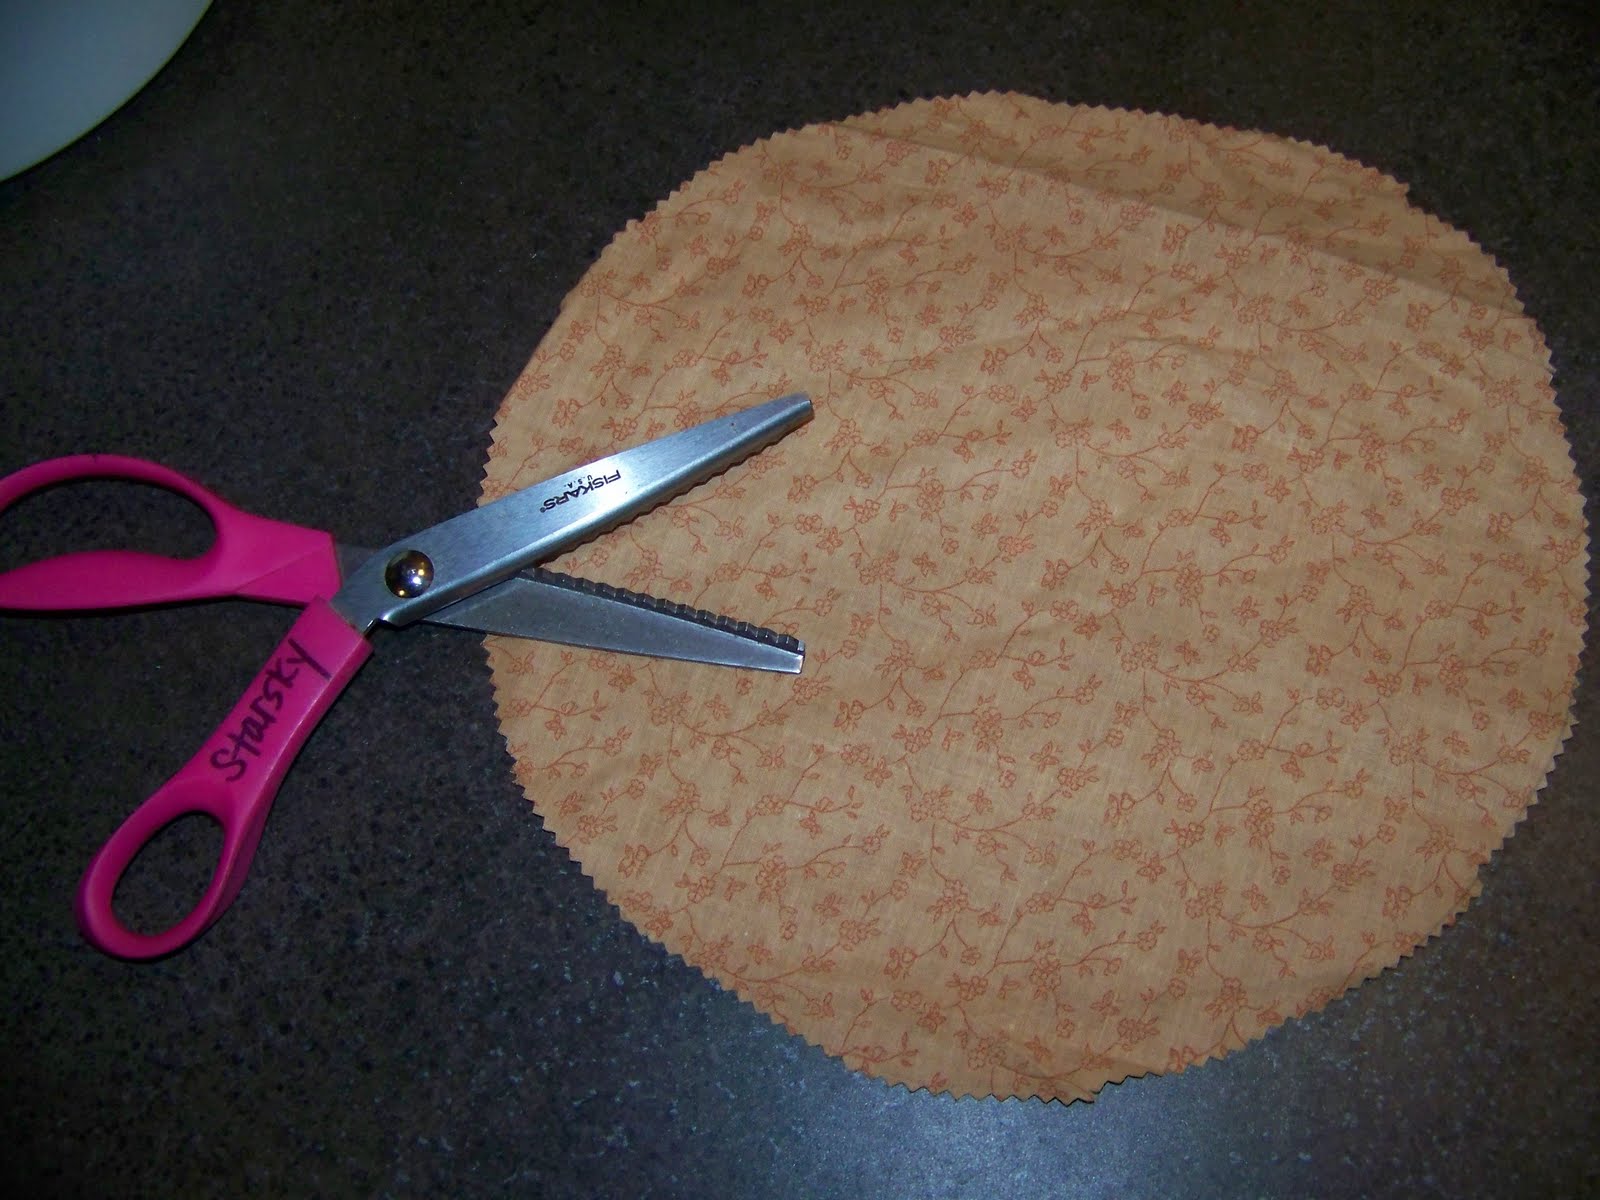
I start by using a bowl or template to draw a circle on some material, and then cut out the circle (I like to use pinking shears to avoid the un-ravelling edge).


I take a needle and thread and do a quick running stitch (in, out, in,out) all of the way around the edge. No need to be perfect here...no one will see your stitches.

I add a little "filling", pull the thread, add a stick for a stem, and tie it up.

I add some ribbon scraps for leaves/vines. After I've made a few pumpkins, in all different patterns, I take 3 or 4 and hot glue them together.

I've made my own pumpkin patch for a fall display in the family room and around the flower centerpiece on the dining room table. Let me see your pumpkin patch!

Fall is in the air, literally, in the air, hanging between rooms...I made this 2-sided Halloween banner for a challenge over in Fiskateerland a few weeks ago. I hung it up and was happy, but it just needed something more. I decided to tie on some scraps of fabric cut into strips, and now it is complete!