Showing posts with label home decor. Show all posts

Wednesday, October 1, 2014

Create a face...


It's all about the face...about the face...about the face. 

And these silly faces, from Unique Laser Designs, are pumpkin perfect for some spooky decor as autumn and Halloween come knocking on our doors.

I painted one side of each face with acrylic paint (different shades of orange).  I stamped a pattern on each with clear Versamark embossing ink, and then poured on UTEE (ultra-thick embossing enamel), shook off what didn't stick, and used the heat gun to watch it rise.

On the other side of each face, I glued on a sheet of patterned paper (I used the wood pumpkin as a stencil to get the perfect shape). I LOVE how the patterns show through the detailed cut-outs of the eyes, nose, and mouth. Next, I laid down twine to connect the three pumpkins and then glued another patterned paper pumpkin shape over that .


Included with the ULD pumpkin pack, are the "negative shapes" from the laser cutting process.  PERFECT for adding dimension as I used these "leftovers" to create MORE faces.

I tied some ribbon scraps on the twine and this is ready to spin and hang as a greeting to your Halloween visitors. EEK!


 ~Kelly

Pin It

Tuesday, July 1, 2014

Create with these colors (a challenge)...


Navy, Red, Cream, and Kraft.

In my recent over-zealous cleaning rampages, I have been throwing out a LOT of old, damaged, dated, faded, weird holiday decorations.  That means it's time to make some new ones! Just in time for Scrap It Girl's July Challenge, which is to create a project using the colors--red, cream, navy blue, and kraft.  

I took a 9" x 11" canvas, painted it cream and splattered it with red and navy paint. Then, I added star die-cuts cut from scraps of red and blue paper. 


Lastly, I added my new addiction...burlap paper from DCWV.  I am VERY quickly going through my 6" x 6" stack--better get some more!  With some die-cut "star spangled" letters and few small wood stars from Unique Laser Designs, my canvas is ready for hanging!

Next, remember this pic from last week?  I hinted as to what the shape is that my favorite die makes...

 This Tim Holtz long Sizzix Thinlit makes Mini Paper Rosettes!

It makes perfect rosettes, and believe me, I have tried to accordion fold strips of paper on my own and have gotten a rosette that is well...not a rosette.  It looks like my paper fans did when I was a kid---precise folding is not my forte'.


These rosettes are great on cards and banners...and here they are on a patriotic card where I used a WeR flag stamp.  Oh beautiful...

~Kelly

Pin It

Tuesday, May 6, 2014

Create for a family connected...


Literally...for a family connected.  Connected with a bit of hot glue.  

I have totally been neglecting my scrapbooking, because I keep playing with these wood shapes from Unique Laser Designs.  Being on their Design Team is awesome, but they keep adding new items to their inventory and I keep adding to my very long wish list!   Every time I think I am ready to sit down and get some serious scrapping done, I think of something new to do with these shapes. As soon as I saw these frames, I knew I wanted to connect them for a collage.


Even though I think they would be spectacular unpainted, I decided to add some vibrant hues with acrylic paint and turn my photos to black and white. 


Connecting these intricate frames was a bit tricky, but after some experimentation, I found that hot glue covered with some acrylic packaging scraps seemed to be the best way to go. You can see a close-up on this picture above.


You know Mother's Day is right around the corner...
I'm giving this to myself!

~Kelly
Pin It


Wednesday, April 16, 2014

Create in a circle...


I have been on a "wreath kick" lately.  Some of my door decorations have seen better days and I decided that I needed to add something fresh and bright since the calendar says SPRING (I am trying really hard to ignore the snowflakes blowing through the air today).  

I added some ribbon and material scraps to an embroidery hoop (this one is 10 inches in diameter) and it makes a happy home for these decorative bunnies from Unique Laser Designs.  I just added some bright spring colors (sage green, coral, orchid, and periwinkle blue) with acrylic paint and then hot glued them onto the grassy hoop.  A lacey bow finishes it off and my door has gotten a much needed spring makeover.  This project is so quick and easy and you could do this with any of the adorable shapes from Unique Laser Designs (like the bees, butterflies, or birds)--check them out HERE.


Don't forget about the April Challenge on the Unique Laser Designs blog.  You can join in the fun by showing us your creation made with any wood or chipboard embellishment.  You can play along even if you haven't ordered anything from Unique Laser Designs (yet!).


So, does your door need a makeover?  Please share--I'd love to see the "big reveal"!


~Kelly


Pin It

Monday, March 24, 2014

Create spring...


Everyone keeps saying "spring is here".  Well, the calendar might say so, but my yard still says "frozen".  I decided I'm going to "let it go" (can you hear me singing?) and make spring things anyways. I'm playing with more goodies from Linnie Blooms and Unique Laser Designs.


I used a watercolor pencil with a wet paintbrush to flick splatters of green color onto these small triangle pennant shapes from Linnie Blooms.


I stamped chevrons (and then flicked more green watercolor) onto this bookmark canvas from Linnie Blooms.  I stapled some random scraps of green ribbon for grass.


I added some alpha stickers to the triangles and hot glued them onto a wire.  I colored these cute wood tulips from Unique Laser Designs with Copic markers and then added some Stickles for fun.


Now, I'm going to go hang this in my window and hope that Mother Nature gets the hint.

~Kelly


Pin It

Wednesday, July 31, 2013

Be mixed up...


I'm learning it's ok to be "mixed-up".  At least in the sense of artwork.  I'm finding mixed-media to be very freeing.  No rules, no set structure, no boundaries, just playing.
 
 
Last Friday, I got to play with Linda Barutha at her store, Linnie Blooms (in Mukwonago, WI if you want to visit).  You can find her online store here at http://lindabarutha.com/shop/
She is selling lots of fun canvas shapes that are perfect for so many projects...like these long rectangular "blanks" and the fun sunflower/sun shape.  The possibilities are endless! 

First, I colored the background and flower shapes with Faber-Castell gelatos (and water) and stenciled on more designs with ink. I'm resisting the temptation to buy every gelato in every color!

Then it got even more fun as I continued to add more dimension by placing and squishing the flower shapes into one corner and adding some of Linnie Bloom textures (the cotton netting) that I had inked.  I also used some of that texture to make a little butterfly by folding it into a mini clothespin and adding wire antennae.  Finally, I added some ribbon and twine--twisting and stapling them onto the canvas to create grass, stems, and leaves.  The cute vintage hanger is from Melissa Frances.  For the sentiment, "everything grows better with love"...I  painted Modge Podge onto a piece of grid paper and after it dried I ran it through my printer.  I had to use a heat gun to get the ink to dry (after I learned how wet it stays on my first attempt---oops).


So, are you feeling mixed-up?  It's ok.  Embrace the craziness and create.  That's what I'm going to do.  Creating seems to mask the "crazy" pretty well.

~Kelly


Pin It


Tuesday, July 23, 2013

Be open...


I've been trying to "be" a lot of different things this year on my blog.  And one thing that I wanted when I started this blog was for it to push me, expand me, "open" me.  To new ideas, new people, new techniques, and new projects.  It has done that and I want it to continue.  So, I am expanding into some mixed media projects.  I have decided to try and keep up with this home decor project for each month that I started last month (see July project here). 


Chevron background stamp=CTMH Who's Your Valentine
Bicycle, Sentiment, and Clock=CTMH Enjoy Life
Paper=For Always and Surfs Up
Canvas Flower=Linnie Blooms (http://lindabarutha.com/shop/)
 
 
Lori Brown, a Close to My Heart consultant, sent the Chicagoland Scrapbooker Design Team some papers to play with, and "oh my flowers" did I play! For this project I used papers from "For Always", "Buzz and Bumble", and "Surf''s Up".


Flowers=CTMH Just for You stamped on pages from an old book
August background=CTMH Cherish the Day stamp
Paper=For Always
Canvas Butterfly= Linnie Blooms (www.lindabarutha.com/shop)


You might have noticed those cute canvas shapes (flower and butterflies) that I used too. More focus on those coming soon, but you can check out those and more shapes at Linnie Blooms.
 
Hexagons=CTMH Honeycomb Flair, then cut with Fiskars Hexagon large squeeze punch
Paper=Buzz and Bumble


All this week, you can also see what the other Chicagoland Scrapbooker Design Team members did with all of the CTMH papers.  Check it out at the Chicagoland Scrapbooker blog (there is a CONTEST too).

And, a BIG "thank you" to Lori Brown for letting us play with these beautiful papers. Don't forget to visit her site too, right here.


By the way, just because I am posting an "August" project does not mean I am ready for August.  I'm going to hold onto July real tight for as long as I can.

~Kelly


Pin It


Tuesday, July 2, 2013

Be red, white, and blue

We are just going to skip right over the fact that I have been neglecting my blog. I know it. You know it. There. We are done talking about it.
It is a new month. And that new month is July, so we need to start off the month with RED, WHITE, and BLUE.  July is a month dedicated to those who have so bravely dedicated their lives to our country so that we may all experience freedom.  If you ask me, every day should be dedicated to them.
 
 
RED, WHITE, and BLUE is the challenge of the month over at Scrap It Girl. I found this simple wood divided frame at Michaels, and thought it would be perfect to make something for my home. I painted it white and then randomly distressed it with some ink and paint in a gray/blue color. 
 
In one square, I placed a ATC that I had made a long time ago...it was just sitting in a container with other ATCs collecting dust, so perfect to use it now (one less square to think about). For the upper right square, I rolled paper around a marker, sealed it with hot glue, and gently slid it off the marker to make these rolls.  I love the dimension they add.  The banner is made with Unity banner stamps-I distressed the edges and glued them onto a lace strips to hang. 
On another square, I used assorted buttons (I layered felt underneath so the buttons wouldn't be set in so deep). Another square is filled with patriotic pinwheels. In this big square above, I stamped a background using a chevron image and then painted or inked, or papered some flat wooden stars. The bottom right square is filled with flowers, some made and some bought. A red or blue bling dot in the middle of each is a simple addition.
 
Please play along with Scrap It Girl this month...we want to see you get your red, white, and blue on!


~Kelly


Pin It


Friday, October 26, 2012

Whatever is orange (and black)...


Welcome to the 3rd Annual Fiskateers ORANGE Blog Hop!  If you are hopping along, you should have come from...
Divinity #6688 www.scrap-n-patch.blogspot.com

If you are joining us in the middle, go to www.fiskateers.com to start from the beginning.  Today, we are celebrating Fiskars' signature color, ORANGE.  Almost everyone is familiar with Fiskars' famous orange-handled scissors, but Fiskars makes so many other wonderful products for crafting, sewing, gardening, and more.  Each stop along our Blog Hop will feature different Fiskars' products with a big helping of ORANGE!


For my ORANGE project, I decided to make something a little scary!  Just a little scary for me too...I had never made a home decor collage project.  Although, all scrapbook pages are sort of a collage, and I'd created banners, this was different for me.  Lots of steps and layers were a bit intimidating, and I placed and re-placed and positioned and re-positioned all of the elements a zillion times before I started gluing.  I started by arranging (and re-arranging) an assortment of Halloween stamps onto my Fiskars stamp press as seen below.
 
 
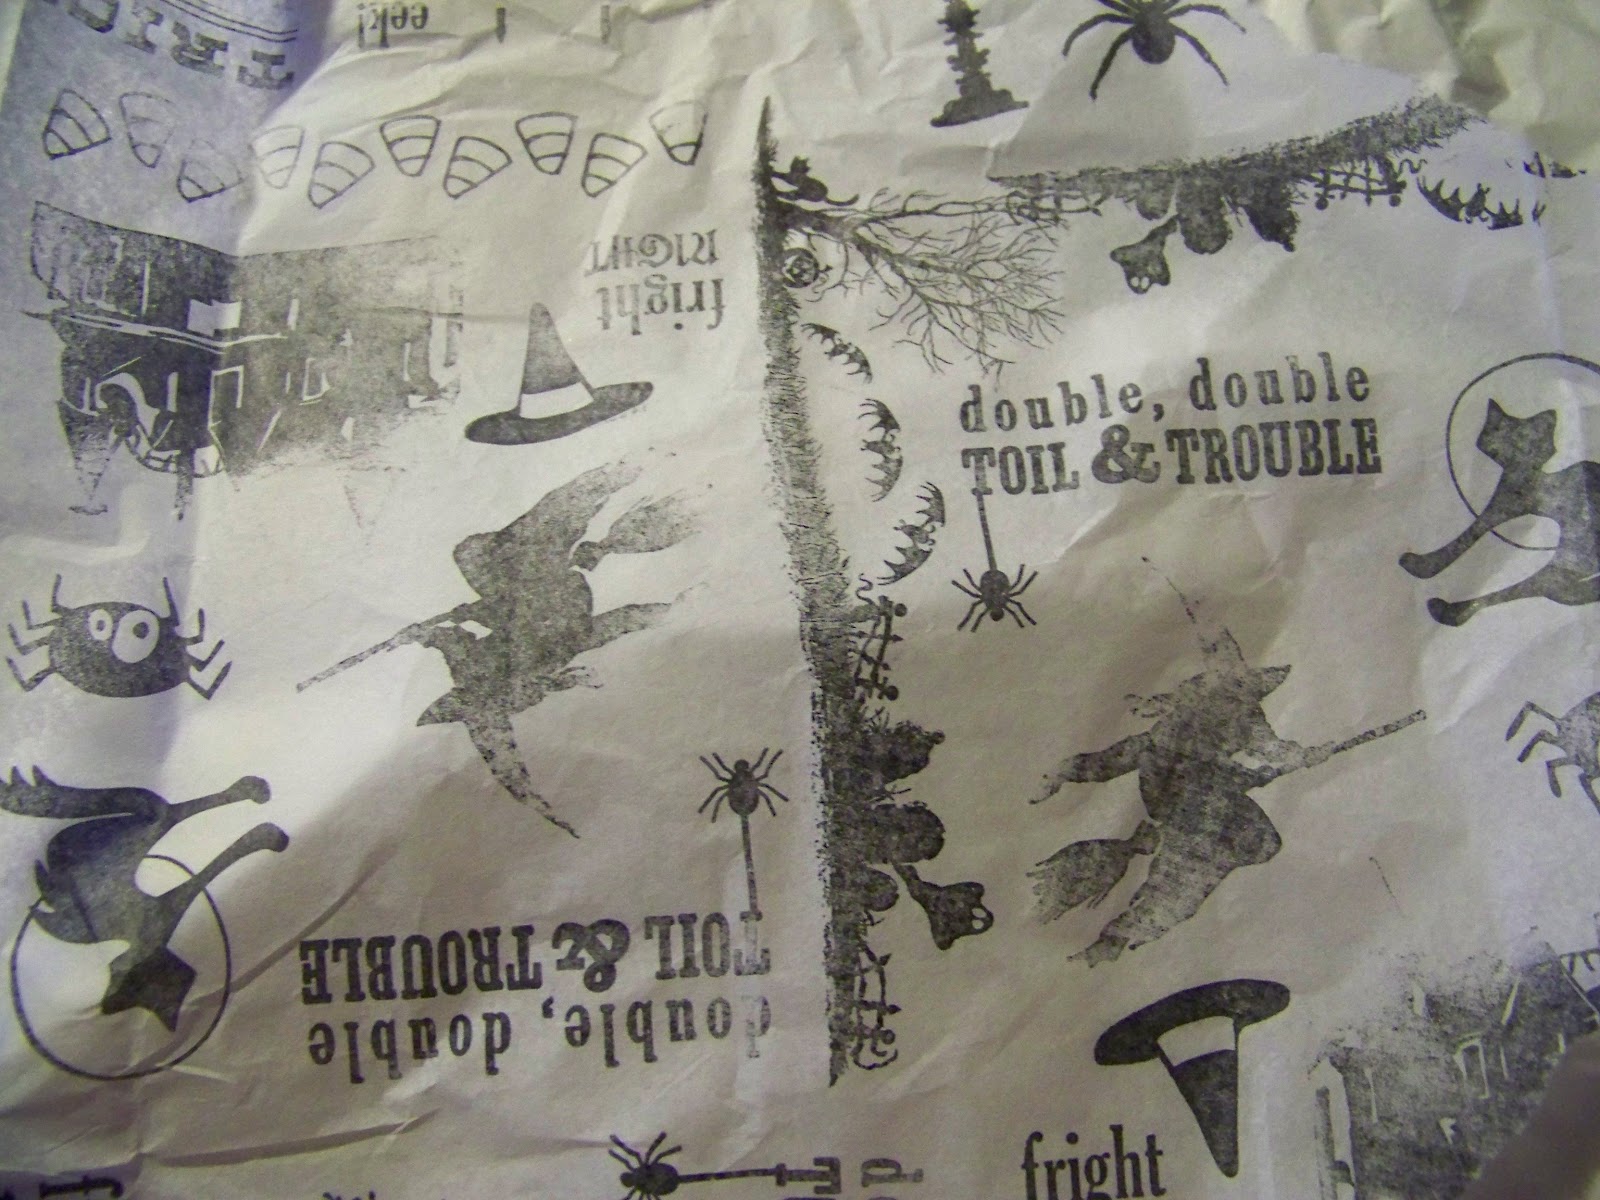
Then, I stamped randomly on some white tissue paper using black Stazon ink.
 
 
I glued the tissue onto a thick sheet of cardstock.
Next, I started inking with Tim Holtz Distress Inks and Stain...more randomness


I started punching and cutting...I spy with my little eye Fiskars Grandma's Doily, a small cloud (as clouds and ghosts), a small bare tree, and I used my Fiskars Ultra Shape Xpress to cut this tree from the Woodland Tree Template (the checkerboard-like, flocked paper is from My Mind's Eye).


Then the arranging and layer began (that part lasted a long time).  Finally gluing.


Thanks for stopping by...
Now, all fun blog hops have a few sur-prizes thrown in!  Leave a comment below, telling me one thing you want to create but never have yet.  I'll choose a winner on Monday who will receive some "happy mail".


For more information about Fiskars and the Fiskateer program, you can go to http://www.fiskateers.com/join/.

Now, along to my friend Maya #351 at www.mayadahan.blogspot.com,
she's the next blog on the hop.
 
~Kelly
Pin It