Showing posts with label apple. Show all posts

Friday, January 27, 2012

Whatever holds...


I LOVE apples.  Not in the Gwyneth Paltrow-I'm going to name my child "Apple" kind of way, but I do LOVE apples.  I have an apple color scheme (lime green, yellow, red) going on in my kitchen, and I just wanted to show you what's taking up a little bit of space on my counter right now.
I painted my kitchen door (that leads to the garage) with a large chalkboard paint rectangle and hung a frame around it. The rest of the door still needs some lovin', so I'm not ready to show you a picture of it yet. We've been writing notes to each other, "don't forgets", grocery lists, and schedules on the chalkboard and I LOVE it. SO, we needed a "something" to hold our chalk and eraser nearby. Enter, the crafty neighbor (that's me).


This shiny silver container used to hold cashews.


I used a Fiskars notebook border punch, a Martha Stewart apple punch, and some alphabet stickers to create the wrapper.


I ran the wrapper through my Xyron machine to laminate it and then hot glued it onto the can.  Perfect holder for an eraser and chalk.  Maybe I'll make one for Gwyneth and her Apple too!

~Kelly
Thursday, November 3, 2011

TAG!...you're it!

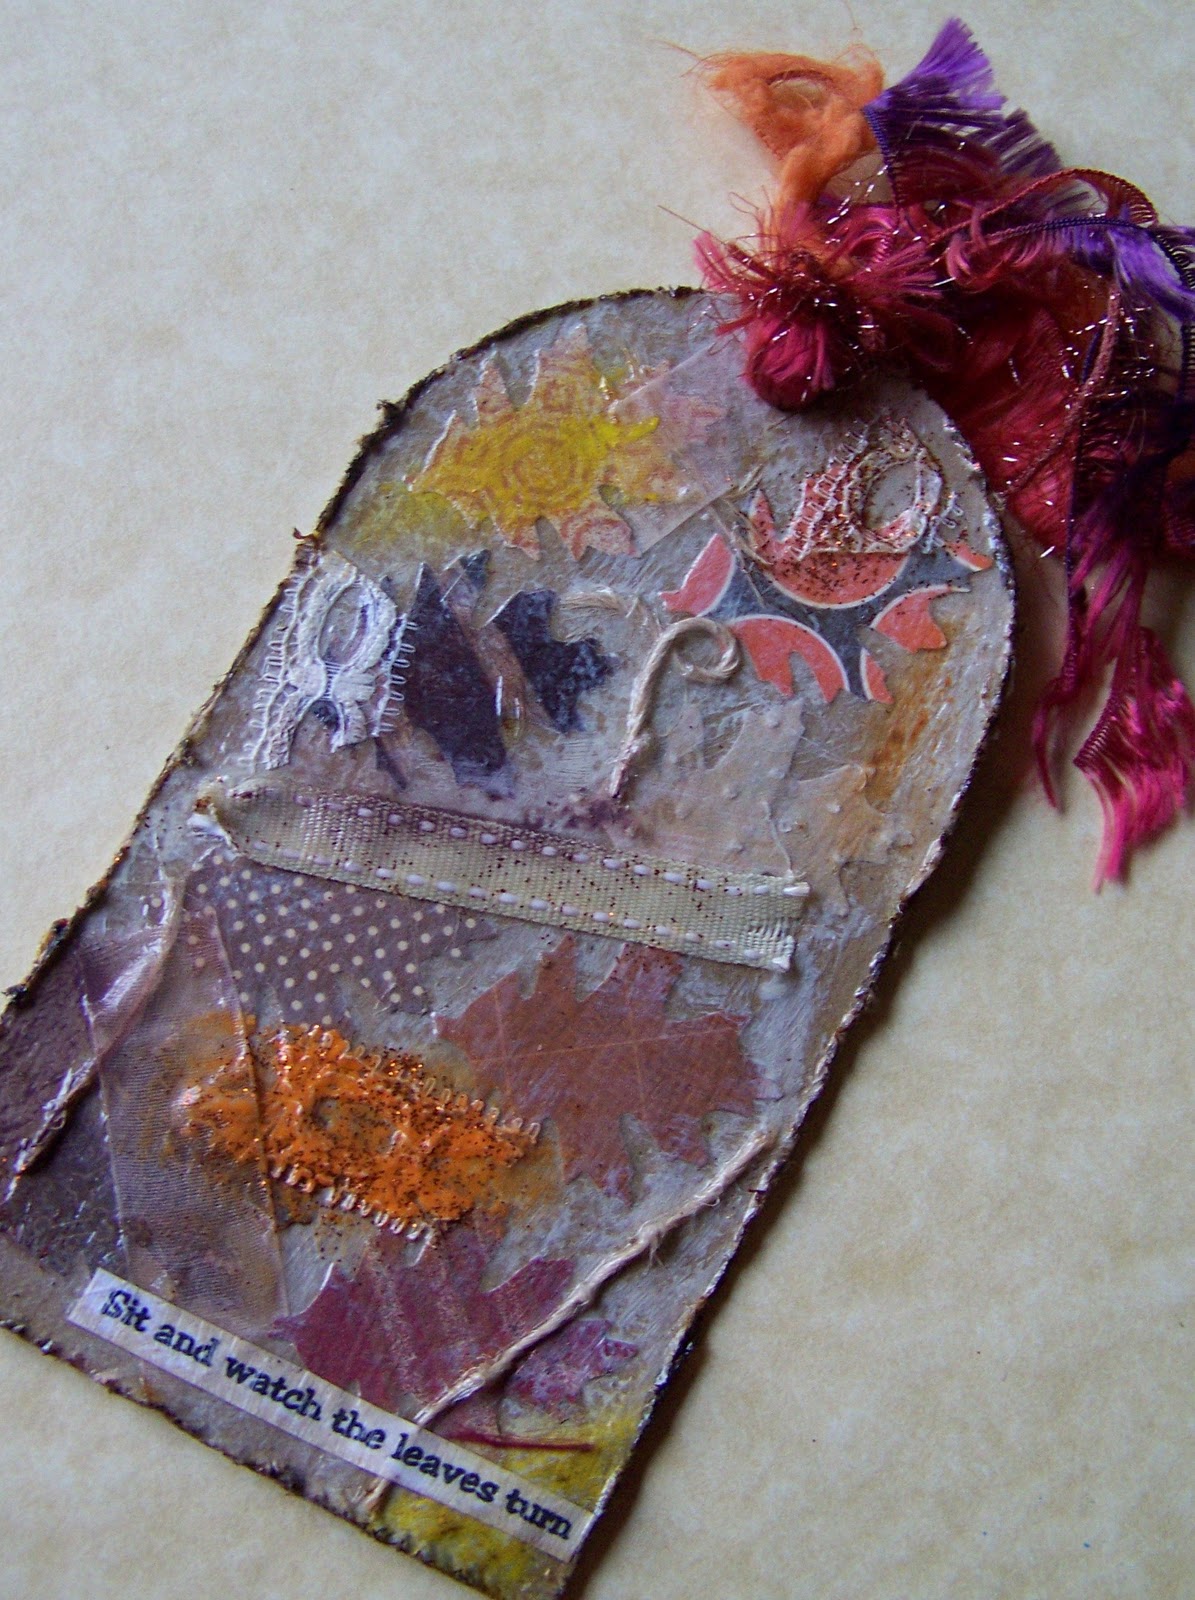
I don't make tags very often.  In fact, I don't play tag very often either. But for this challenge...I got to "play" with tags. A tutorial over on the Fiskateer blog got me started punching, white-washing, layering, coloring, stringing, and adding ribbon, I just couldn't stop.


I started with a cereal box. 2 points for me for being "green"! I cut out 2 tag shapes and then glued on some punches (a Martha Stewart apple for one and a Fiskars "Oakey Dokey" leaf for the other). I glued these on and then started adding other items. I just started digging around through my stash of "scrap" and found all sorts of interesting things...felt circles, buttons, fringe, lace, twine. You know, all of those bits and pieces that are just too precious to throw away yet tend to sit in the bottom of your bin. Now is your chance to use that little 1 inch scrap of ribbon that you've been hoarding, I mean, saving. After I glued these items on, I added some water to some white acrylic paint and white-washed the whole tag. I wiped some off in some areas and left the white on in others. 


After the tags dried, I added some color with paints, inks, oil pastels, stickles, and then added a simple phrase to each tag. I covered them all with Mod Podge and let them dry. They took a
L O N G time to dry. I had to practice my patience! Finally, I punched holes in the top and added more ribbon scraps. Unfortunately (or fortunately), I could make 1000 tags and still not put much of a dent in my ribbon scraps. Well, maybe a 1000 would make a dent.

A big "thank you" to Lead Fiskateer Cheryl for getting me to "play tag". Let's see your tags. These would be great to add to a bottle of wine as a hostess gift, don't you think?