Showing posts with label projects. Show all posts

Friday, January 27, 2012

Whatever holds...


I LOVE apples.  Not in the Gwyneth Paltrow-I'm going to name my child "Apple" kind of way, but I do LOVE apples.  I have an apple color scheme (lime green, yellow, red) going on in my kitchen, and I just wanted to show you what's taking up a little bit of space on my counter right now.
I painted my kitchen door (that leads to the garage) with a large chalkboard paint rectangle and hung a frame around it. The rest of the door still needs some lovin', so I'm not ready to show you a picture of it yet. We've been writing notes to each other, "don't forgets", grocery lists, and schedules on the chalkboard and I LOVE it. SO, we needed a "something" to hold our chalk and eraser nearby. Enter, the crafty neighbor (that's me).


This shiny silver container used to hold cashews.


I used a Fiskars notebook border punch, a Martha Stewart apple punch, and some alphabet stickers to create the wrapper.


I ran the wrapper through my Xyron machine to laminate it and then hot glued it onto the can.  Perfect holder for an eraser and chalk.  Maybe I'll make one for Gwyneth and her Apple too!

~Kelly

Thursday, July 21, 2011

Mini-book...Big on-line crop

Those Fiskateers have me MOVING today!  Two blog posts in one day!  WOW!  First, a pinwheel card (scroll down if you missed it this morning) and NOW, a mini-book tutorial.


This mini-book is great as a small gift for birthdays.  Or, you could fill it with school pictures, graduation photos, inspirational quotes, or as a baby gift.  A new mom could keep this small book in her diaper bag and always have pictures ready to share. 

If you try this project, let me see it!  I'll post your project right here on my blog! 
Go create!


Sunday, May 29, 2011

Birthday treats


Who wouldn't want to receive this jar as a special birthday treat? I don't think I can fit cupcakes in there even though there are these cute ones on it, complete with sprinkles. My co-worker is getting this filled with Swedish fish, her favorite--and MINE too! What would you want in your jar?

Saturday, April 16, 2011

Hexagons


I am many things...a wife, a mom, a physical therapist, a Fiskateer, a housework procrastinator, a crafter...but, I am NOT a quilter. I want to be a quilter, but it just doesn't seem meant to be. Sure, I can sew straight lines, but the artist in me just can't handle all of the precise measurements required of quilting. Some might disagree, but I think paper is much more forgiving.


A vintage penny quilt is my inspiration for this paper table runner. I've always admired how the perfectly shaped stacks of circles connected with tiny stitches are so simple yet produce such magnificent results. So, no, I am not a quilter, but I do know how to improvise.


First, I made a diagram based on the number of rows I would need to make a hexagon approximately 24 inches in diameter. It all started with 1 circle and 6 circles around it. Each row added 6 more circles (1, 6, 12, 18, 24, 30, 36). To get the size I wanted, I was going to need 127 base shapes, with 127 centers.


Using the Large and Extra Large sizes of the Fiskars "Seal of Approval" and "Round 'n Round" squeeze punches made this job easy. I made my center "penny" and then, on the first row, I used the XL Seal of Approval as the base, and the Large Round 'n Round as the center, For the next row, I switched and used the XL Round 'n Round as the base and the Large Seal of Approval as the center. I continued alternating these shapes until I had all that I needed. For the last row, I decided to layer with 3 shapes and used the XL Round 'n Round, the XL Seal of Approval, and the Large Round 'n Round.


Using my Fiskars Sure Cut Paper Trimmer made cutting the 12 inch by 1/4 inch connecting strips an easy job. After arranging and gluing the first six strips into symmetrical angles of approximately 60 degrees, I began gluing on each of the "pennies" with tape runner adhesive.


I just kept adding and attaching more strips as I added each row. As I got further out from the center, I would gently pick up the runner from the table--where there seemed to be a gap between rows, I would add a small strip for stability. I continued this method until I had all 7 rows attached.


The end result is a "vintage" paper penny table runner...a great centerpiece for the dining room table. I could even frame it and hang it on the wall. Maybe, I am a quilter after all. And, maybe, I'll give that material quilting method another try someday. Maybe.


Monday, December 20, 2010

Where to put those gift cards....hmmm


I had some neighborhood friends over last night for a "wrap" party, and I taught all of them how to make these great gift card holders. They were all skeptical when I told them to bring over empty toilet paper rolls! But, we flattened the rolls, glued on papers and punches and embellishments and they were impressed with their own creativity!


To make these...
-flatten your paper roll
-cut the paper about 3/4 inch wider than your roll so you can fold the paper over one end. I found hot glue works the best for adhering this first layer of paper onto the cardboard roll.
-Cut the length just enough to wrap and overlap.
-Decorate, decorate, decorate.
-Then, make a small hole on the open end (all the way through both layers).
-Slide your gift card in and then place a brad in the hole to close it up.


Your relatives will be so impressed!

Wednesday, December 1, 2010

December is HERE! Project #1


I'm going to try really hard. I mean REALLY hard to post 12 projects before Christmas. Christmas projects to help you find the energy and blessings of Advent.


Day 1: Last year, I made an Advent calendar tree. I bought these little wood boxes from Oriental Trading Company. After many hours of sanding to get all of the doors to fit, I painted them, and then distressed them with sand paper. I created a structure that will allow all of the doors to slide open so the kids can pull out the slip of paper with the Advent activity for the day and the chocolate. Then, I pulled out my stash of stickers, ribbon, brads, and Christmas goodies to decorate each box. It's already become a favorite tradition.

Sunday, October 24, 2010

Got gum? I have Halloween gum wrappers!


I have a love for monsters. Not only the 4 I have at home (just kidding--I love you kids), but silly, goonie-looking not so scary monsters. They've shown up here on these gum wrapper treats. I cut these monsters out of some creep-a-licious paper from Reminisce. Trick or Treat? Definitely a treat!

Monday, October 11, 2010

Pick-a Pick-a Pumpkin from the pile...and a "banner" Halloween


I made these pumpkins about 5 years ago, and even though they get squished into a plastic bin for storage after Halloween every year, they've held up very well. Except a few have gotten their "stem" pulled out by a Golden Retriever I know that likes to chew on sticks (we should have named him "Chip").

They are "sew" easy...I thought I would share them with you.

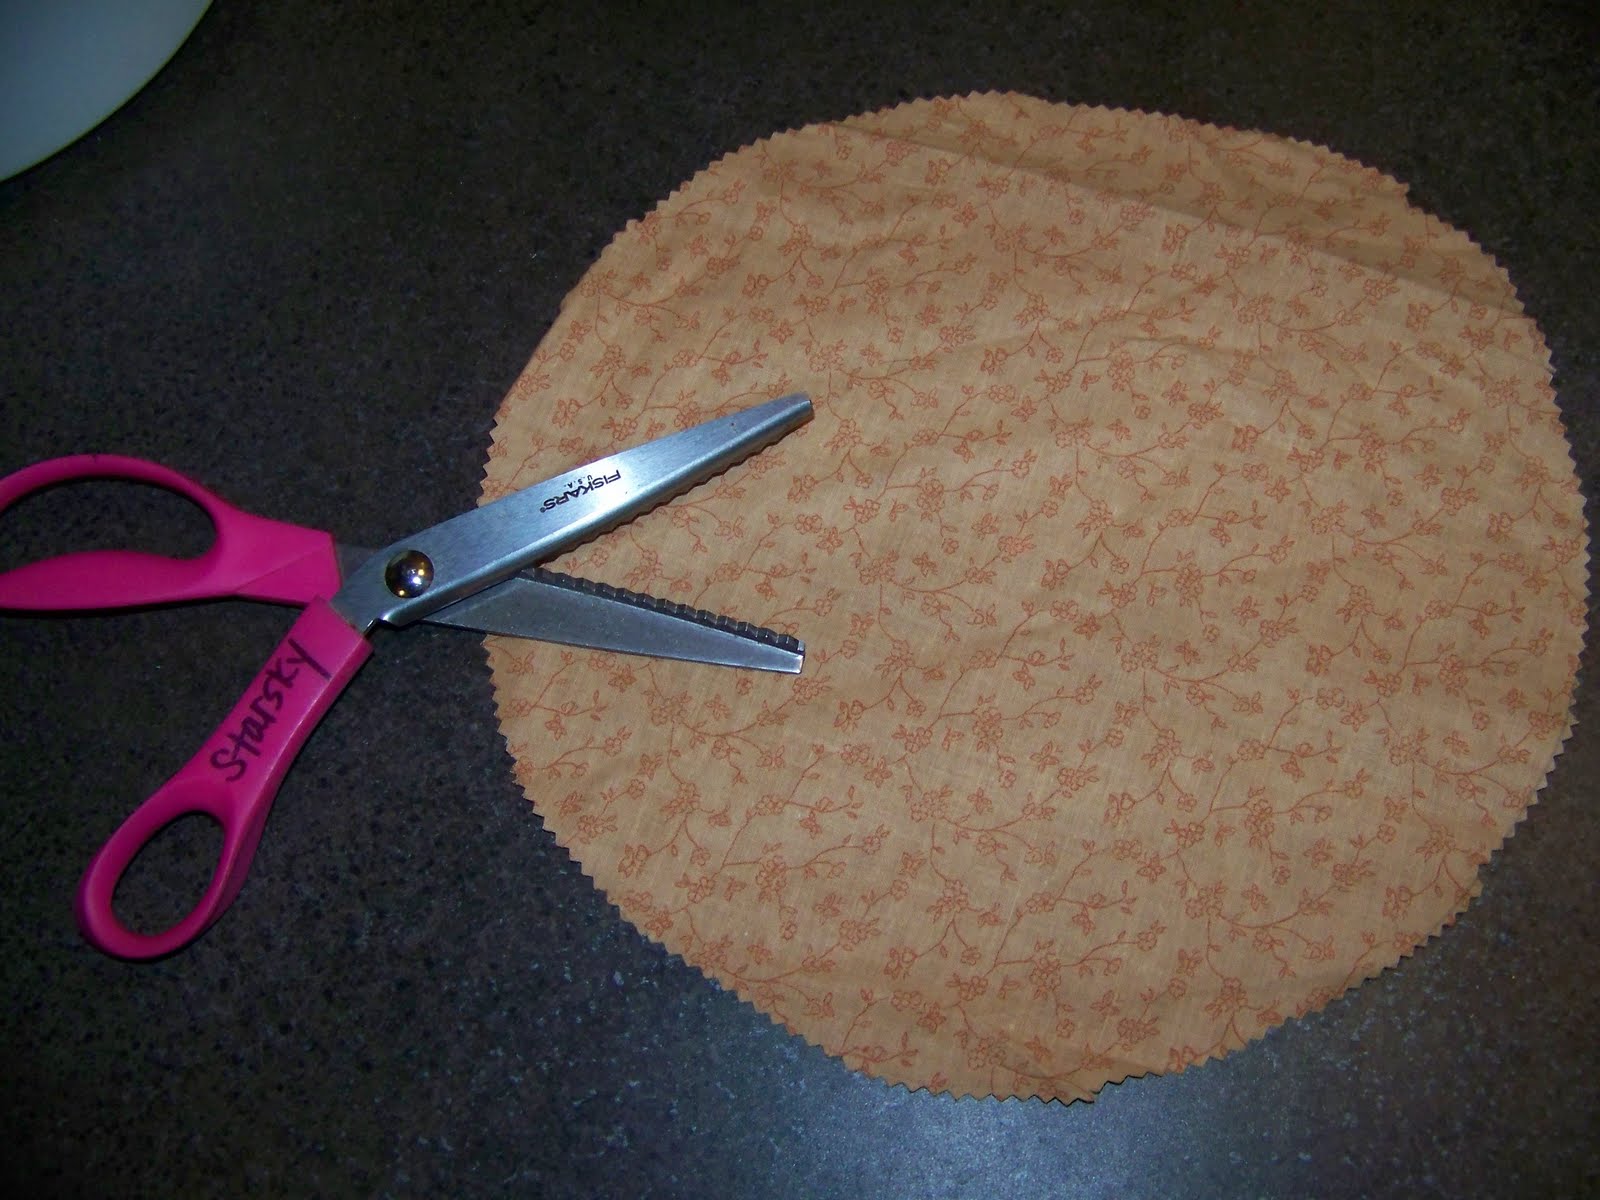
I start by using a bowl or template to draw a circle on some material, and then cut out the circle (I like to use pinking shears to avoid the un-ravelling edge).


I take a needle and thread and do a quick running stitch (in, out, in,out) all of the way around the edge. No need to be perfect here...no one will see your stitches.

I add a little "filling", pull the thread, add a stick for a stem, and tie it up.

I add some ribbon scraps for leaves/vines. After I've made a few pumpkins, in all different patterns, I take 3 or 4 and hot glue them together.

I've made my own pumpkin patch for a fall display in the family room and around the flower centerpiece on the dining room table. Let me see your pumpkin patch!

Fall is in the air, literally, in the air, hanging between rooms...I made this 2-sided Halloween banner for a challenge over in Fiskateerland a few weeks ago. I hung it up and was happy, but it just needed something more. I decided to tie on some scraps of fabric cut into strips, and now it is complete!

Wednesday, September 15, 2010

Calendar girls and "soups on"


These are the creations from my daughter's 13th birthday party. What a talented bunch!

Too many tomatoes from the garden? Here is a DELICIOUS recipe to use them all up! Putzy but worth it!

Tomato soup with basil dumplings

¼ C olive oil
2 large onions, sliced
2 garlic cloves, minced
2 carrots, peeled and finely diced
2 celery ribs, diced
1 sweet red pepper, seeded and diced
2 Tbsp fresh lemon juice
1 tsp sugar
3 C well-seasoned chicken stock
3 pounds very ripe fresh Italian plum tomatoes, peeled, seeded, and diced
1 Tbsp gin (optional)

1 C all-purpose flour
1 tsp baking powder
Salt and pepper to taste
3 eggs
2 Tbsp vegetable oil
¾ C torn fresh basil leaves

Heat olive oil in a large, heavy soup pot. Add onions and garlic. Sauté’ over medium heat, stirring occasionally, for 5 minutes. Add carrots, celery, red pepper, lemon juice, sugar, and chicken broth. Simmer for 15 minutes. Strain out vegetables; return broth to the pot. Puree vegetables in a food processor or blender and return to soup pot. Add tomatoes and gin; simmer for 10 minutes or until soup begins to thicken. Watch carefully and don’t allow it to burn.

Meanwhile-Get a large pot of water to a boil. Combine flour, baking powder, and ½ tsp salt in a large bowl. Add eggs and oil; beat until dough is sticky. Stir in ½ C basil. Drop dough by ½ teaspoons into the large pot of boiling water. Simmer dumplings, uncovered, until they rise to the surface and then 3 to 4 minutes longer, turning periodically, until they are cooked through. (Test one by cutting in half to be sure the center is no longer raw).

Drain dumplings in a colander, rinse under cold water, and drain again. Set aside until ready to add to the soup. Add dumpling to the hot soup and serve at once. Garnish with remaining basil.

Thursday, September 9, 2010

ORANGE you glad today is the Fiskateer Blog Hop?


ORANGE you happy to be a Fiskateer? Get ready to bounce through the Fiskateer Blog Hop. If you came from the blog of Debby's Dare, you are in the right place. If not, go back to the Fiskateer blog so you start from the beginning and don't miss a "scrap" of ideas and fun.
Orange you thinking that September is a great time to make a calendar? Orange you ready to see what fabulous Fiskars tools I've used? Orange you hoping I stop over-using "orange"?

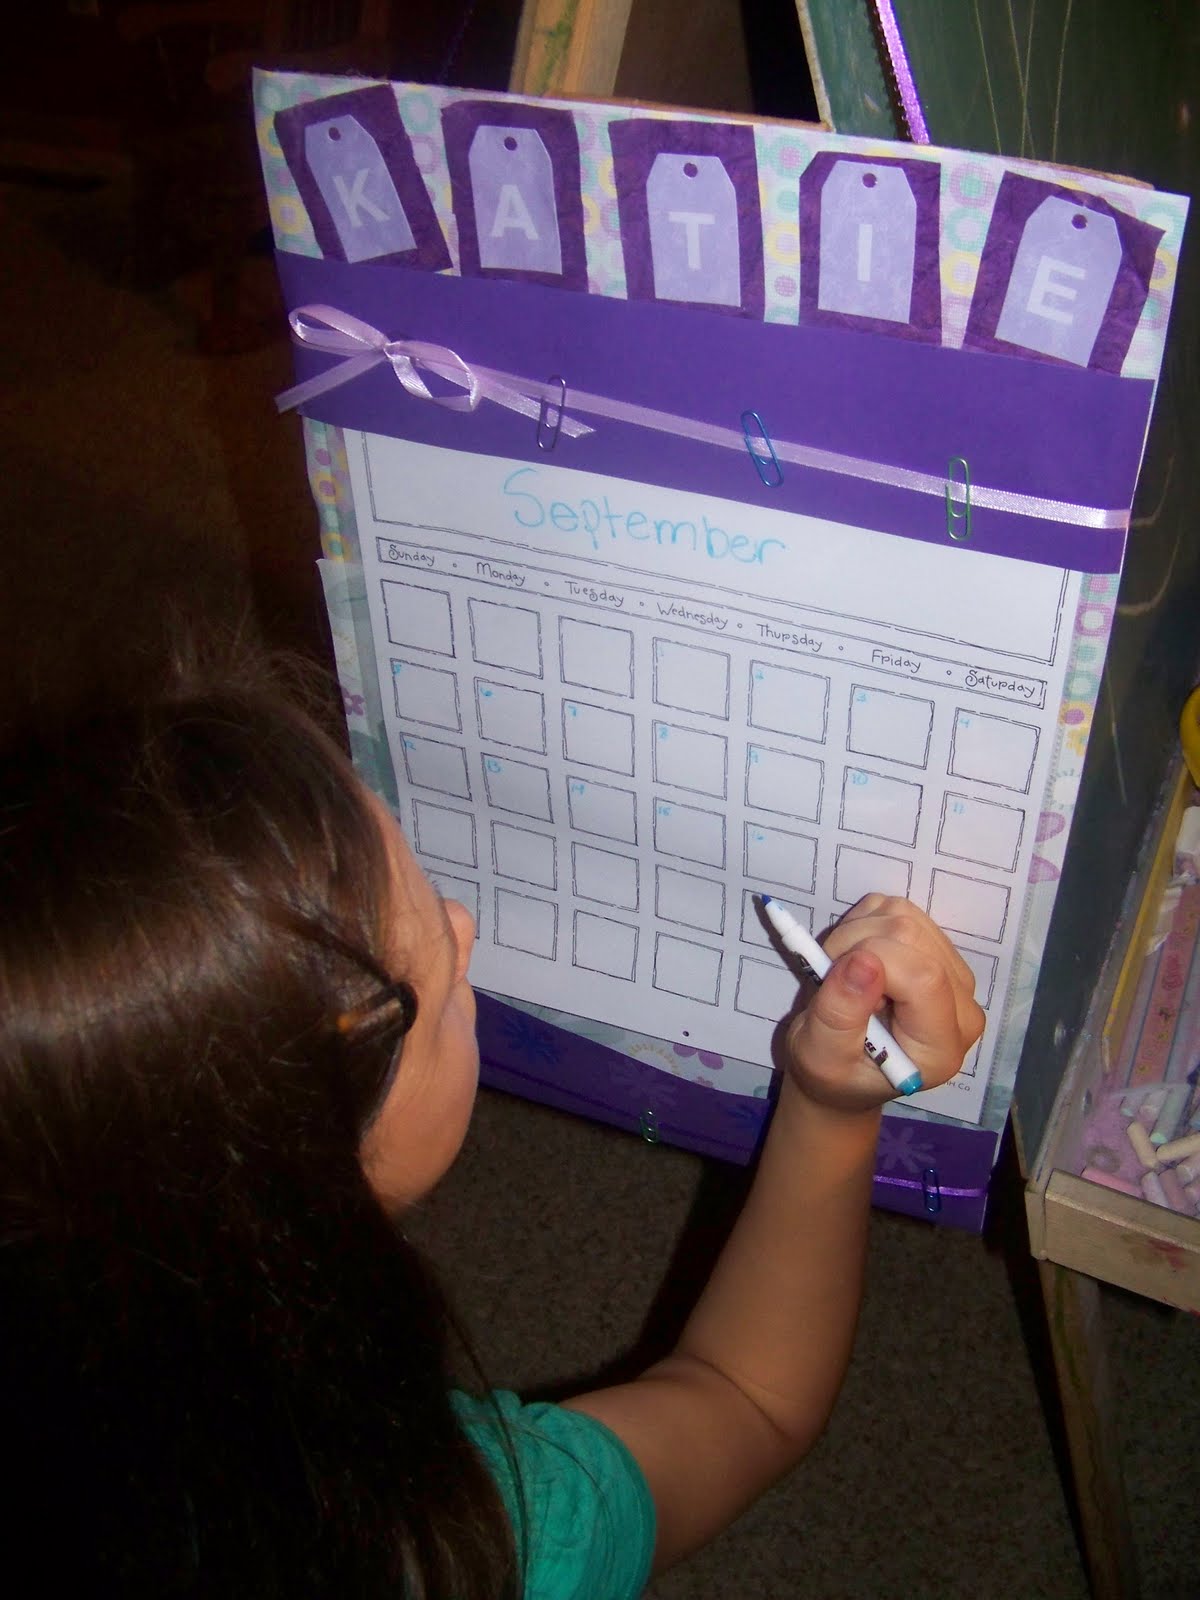
Here is my orange creation...I made this calendar as a sample for my daughter and her friends. It was their crafty project for my daughter's 13th birthday party. They all thought they would be perfect for hanging in their school lockers.

I rescued an 11"x17" piece of cardboard from the recycle bin and covered it with 2 sheets of 12x12 paper. I had the paper hang over the edges on the top and bottom and I used a hot glue gun to secure them. You can wrap the sides too, if you like, but I chose to cut it.
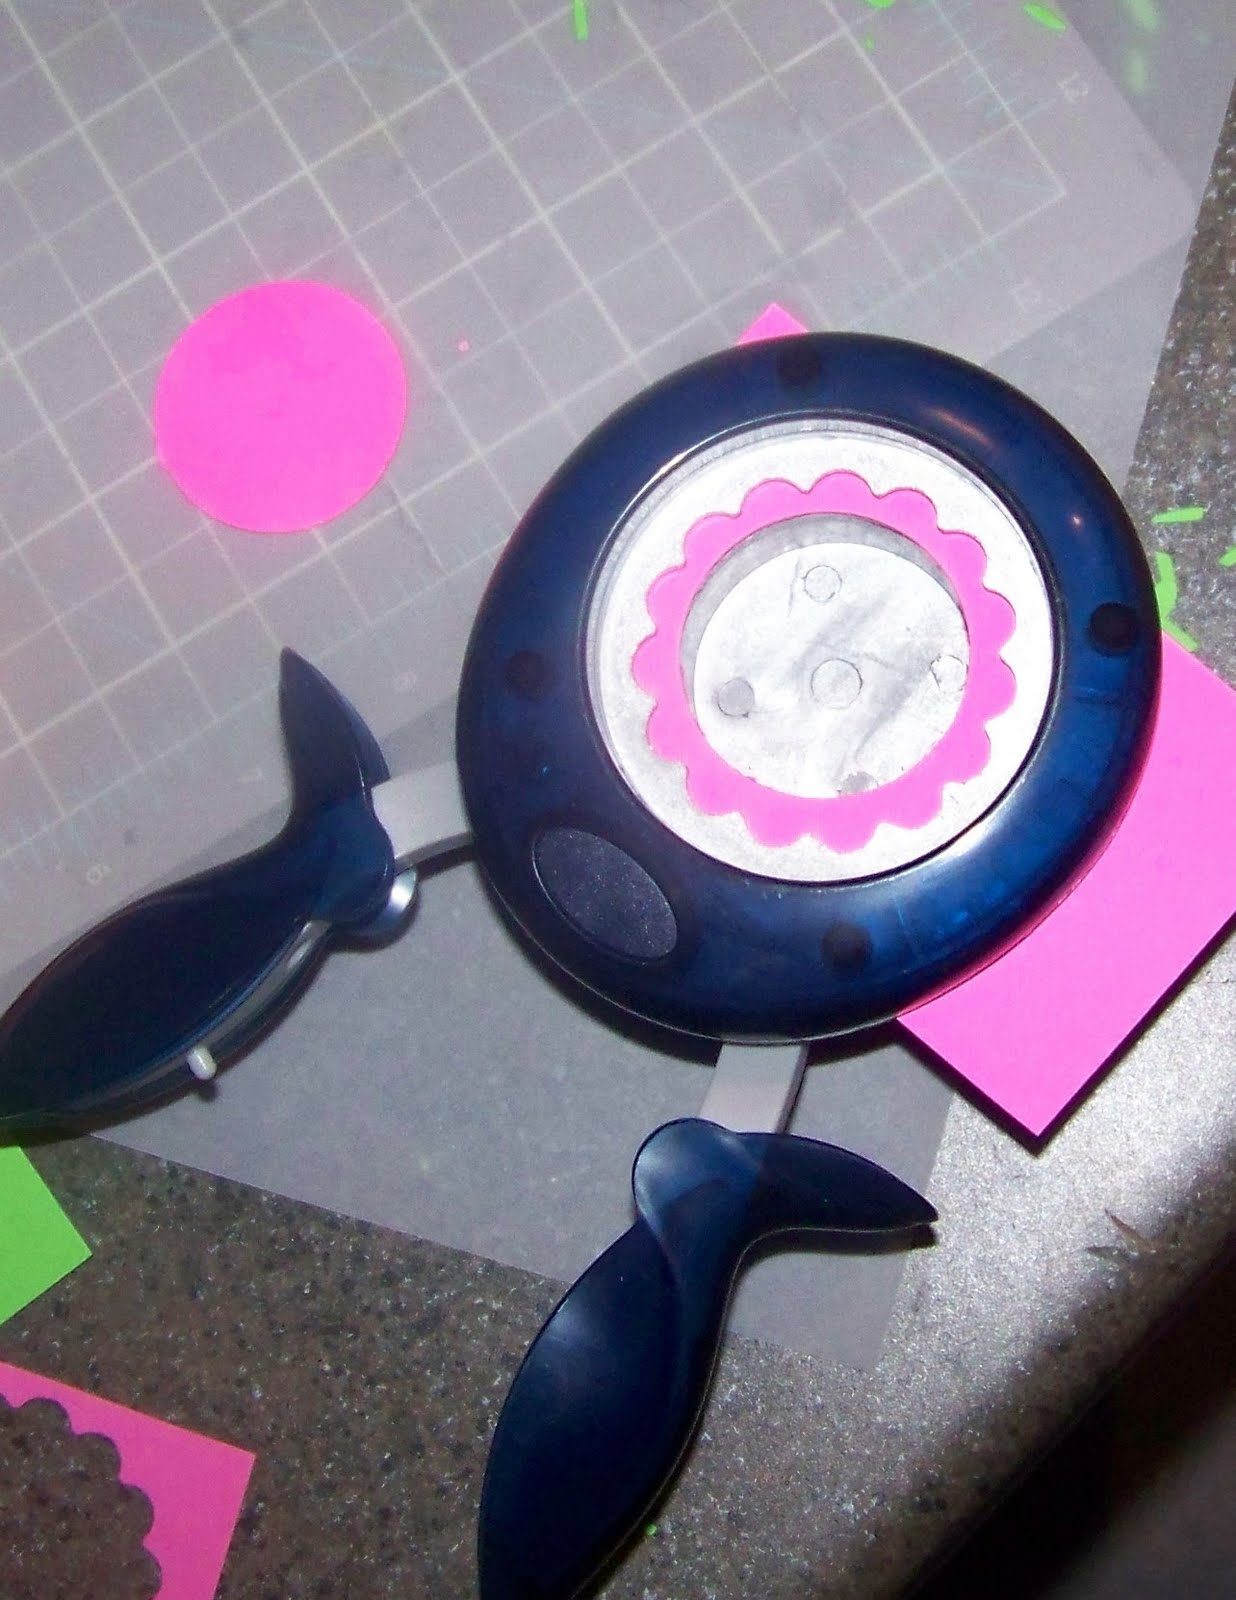
Next, I punched circles from cardstock (using my Round and Round squeeze punch)and then placed the negative paper (with the hole) into a scalloped circle punch (Seal of Approval) .
I centered the hole...
and made a "flower".

By mixing and matching punched circles (that I "popped" with Zots) and flower rings, I created a garden. With some Thickers, I spelled out my daughter's name for the top of the calendar. I added a bow too.


I had a blank calendar page (from Close to My Heart, but you could easily print one out from your computer) and slid it into a page protector (that I trimmed to fit on my 11" wide cardboard). You can put another blank calendar on the back side, so that you can lift it up and plan 2 months at a time.

Using my FAVORITE Fiskars border punch, Apron lace, I added some ORANGE patterned paper to my calendar to cover the place where I glued on the page protector to the cardboard. I also made a pocket at the bottom of the calendar to hold notes and other important "stuff". I added a ribbon at the bottom to slide on some paper clips--one more spot to hang notes.

Everything is better when Stickled, don't you think? A little sparkle makes these die-cut butterflies dazzly!
Since I used a page protector to cover the calendar, it is perfect for use with a dry-erase marker. Rachel is thrilled that I had to make a "sample" for the party, because this calendar is now hers. Won't her teacher be thrilled that she is so eager to practice her numbers?

Come back next week to see what the birthday party calendar artists created...what a talented bunch!

NOW, would you like some happy mail? Leave a comment, and I will pick on Sunday at 6pm (via Random.org) a lucky winner to receive some scrappy goodies.


Boing! Boing! Keep on hopping...next stop...Colleen Flathers at http://cleancreate.blogspot.com/.

If by some chance, you just happened to stop by my blog today and you have no idea what Fiskateers are or why I keep raving about ORANGE, let me explain. Fiskateers is an on-line community. Actually, it's a family. No, we are not related, but we have all come together to celebrate our love and appreciation for Fiskars products. Whether you love the endless scrapbooking supplies (squeeze punches, border punches, paper trimmers, micro-tip scissors, stamps), rotary cutters, garden tools, or their famous orange-handled scissors, Fiskateers is a place for you. At the website, inspiration is abundant. The site has a gallery of AMAZING creations by other Fiskateers, games, chats, swaps, tutorials, and 7000+ friends. It is a place for all things crafty (and sewing and gardening too). If you are interested in becoming a Fiskateer, click here. Contact one of the lead Fiskateers: Angela, Cheryl, Rebecca, or Tami (I listed them alphabetically so they think I don't play favorites), and tell them Kellystar sent you over. Your crafty life may never be the same.