Showing posts with label Halloween. Show all posts

Wednesday, October 1, 2014

Create a face...


It's all about the face...about the face...about the face. 

And these silly faces, from Unique Laser Designs, are pumpkin perfect for some spooky decor as autumn and Halloween come knocking on our doors.

I painted one side of each face with acrylic paint (different shades of orange).  I stamped a pattern on each with clear Versamark embossing ink, and then poured on UTEE (ultra-thick embossing enamel), shook off what didn't stick, and used the heat gun to watch it rise.

On the other side of each face, I glued on a sheet of patterned paper (I used the wood pumpkin as a stencil to get the perfect shape). I LOVE how the patterns show through the detailed cut-outs of the eyes, nose, and mouth. Next, I laid down twine to connect the three pumpkins and then glued another patterned paper pumpkin shape over that .


Included with the ULD pumpkin pack, are the "negative shapes" from the laser cutting process.  PERFECT for adding dimension as I used these "leftovers" to create MORE faces.

I tied some ribbon scraps on the twine and this is ready to spin and hang as a greeting to your Halloween visitors. EEK!


 ~Kelly

Pin It

Friday, September 19, 2014

Create for the door...


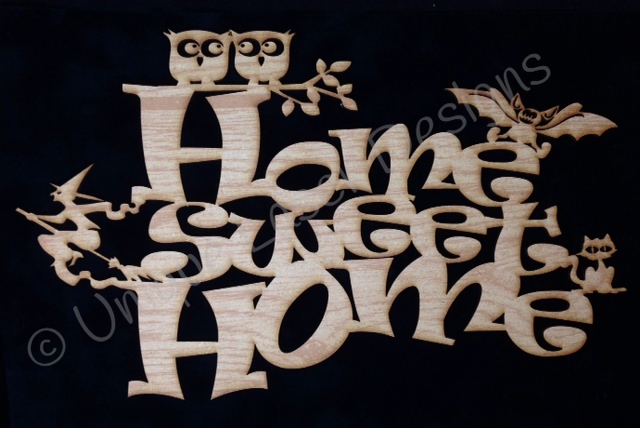
Don't let all of these colorful details scare you away from making this Halloween wreath.  You can make this wreath in about an hour with some yarn, paper rosettes, glue, micro-glitter, and this Halloween wood design from Unique Laser Designs.  First, I wrapped a straw wreath with yarn and then I moved onto the sparkly part of the project.

I covered the whole wood design, "home sweet home", with a piece of scrap paper, but revealed one section at a time.  To that section, I spread on a thin layer of glue and then sprinkled on micro-glitter. Then I moved onto a different section and a different color of glitter.  The flying witch and the bat are purple, the cat and owls are teal, and the "home sweet home" is covered in black micro-glitter (and now so am I).


 I added some paper rosettes and stars and this wreath is ready for the front door!

Halloween decorations don't have to be scary or creepy...
sometimes they can be cute and SPARKLY!

What's on your front door for Halloween?  
Nothing yet?
Why not start with something from Unique Laser Designs...shop HERE!

~Kelly

Pin It

Wednesday, April 3, 2013

Be pushed out of your comfort zone...

  Papers are a mish-mash of Bella Blvd., My Mind's Eye, Close to My Heart, and others


Over at Chicagoland Scrapbooker, we (the design team) were given the assignment to scrap with a color you find difficult to work with.  Now, I would never say I "hate" orange, after all, I do love my Fiskars/Fiskateers, but I find orange really difficult to infuse into my scrapbooking layouts. 

I find it bright, overpowering, and difficult to coordinate with other colors--I can't even get different shades of orange to complement each other!

Here are my tips for working with orange...

  • Use a neutral to tone it down.  In this layout of "the silliest witch", I  have used black to keep the orange from overpowering the layout and the photo.
  • Take your cue from the holidays.  Halloween and Autumn photos give you a starting point for orange---use it.
  • Play off a bit of orange that is present in your photo.  In the photo on my layout, her orange t-shirt peeking out from under her cape is all I needed to permit the orange layout to happen.  If she was wearing a yellow or green t-shirt, I just don't think I would have chosen an orange background paper for this layout.
 
Now, it's your turn.  What is the color you love to hate?  Create a layout with the color you find difficult to work with and link it in the comments at the Chicagoland Scrapbooker post, found here, or post it on the Chicagoland Scrapbooker Facebook page.  You have until April 5th (noon, CST).  We are pushing you out of your comfort zone...do you accept the challenge?
 

~Kelly


Pin It


Friday, October 26, 2012

Whatever is orange (and black)...


Welcome to the 3rd Annual Fiskateers ORANGE Blog Hop!  If you are hopping along, you should have come from...
Divinity #6688 www.scrap-n-patch.blogspot.com

If you are joining us in the middle, go to www.fiskateers.com to start from the beginning.  Today, we are celebrating Fiskars' signature color, ORANGE.  Almost everyone is familiar with Fiskars' famous orange-handled scissors, but Fiskars makes so many other wonderful products for crafting, sewing, gardening, and more.  Each stop along our Blog Hop will feature different Fiskars' products with a big helping of ORANGE!


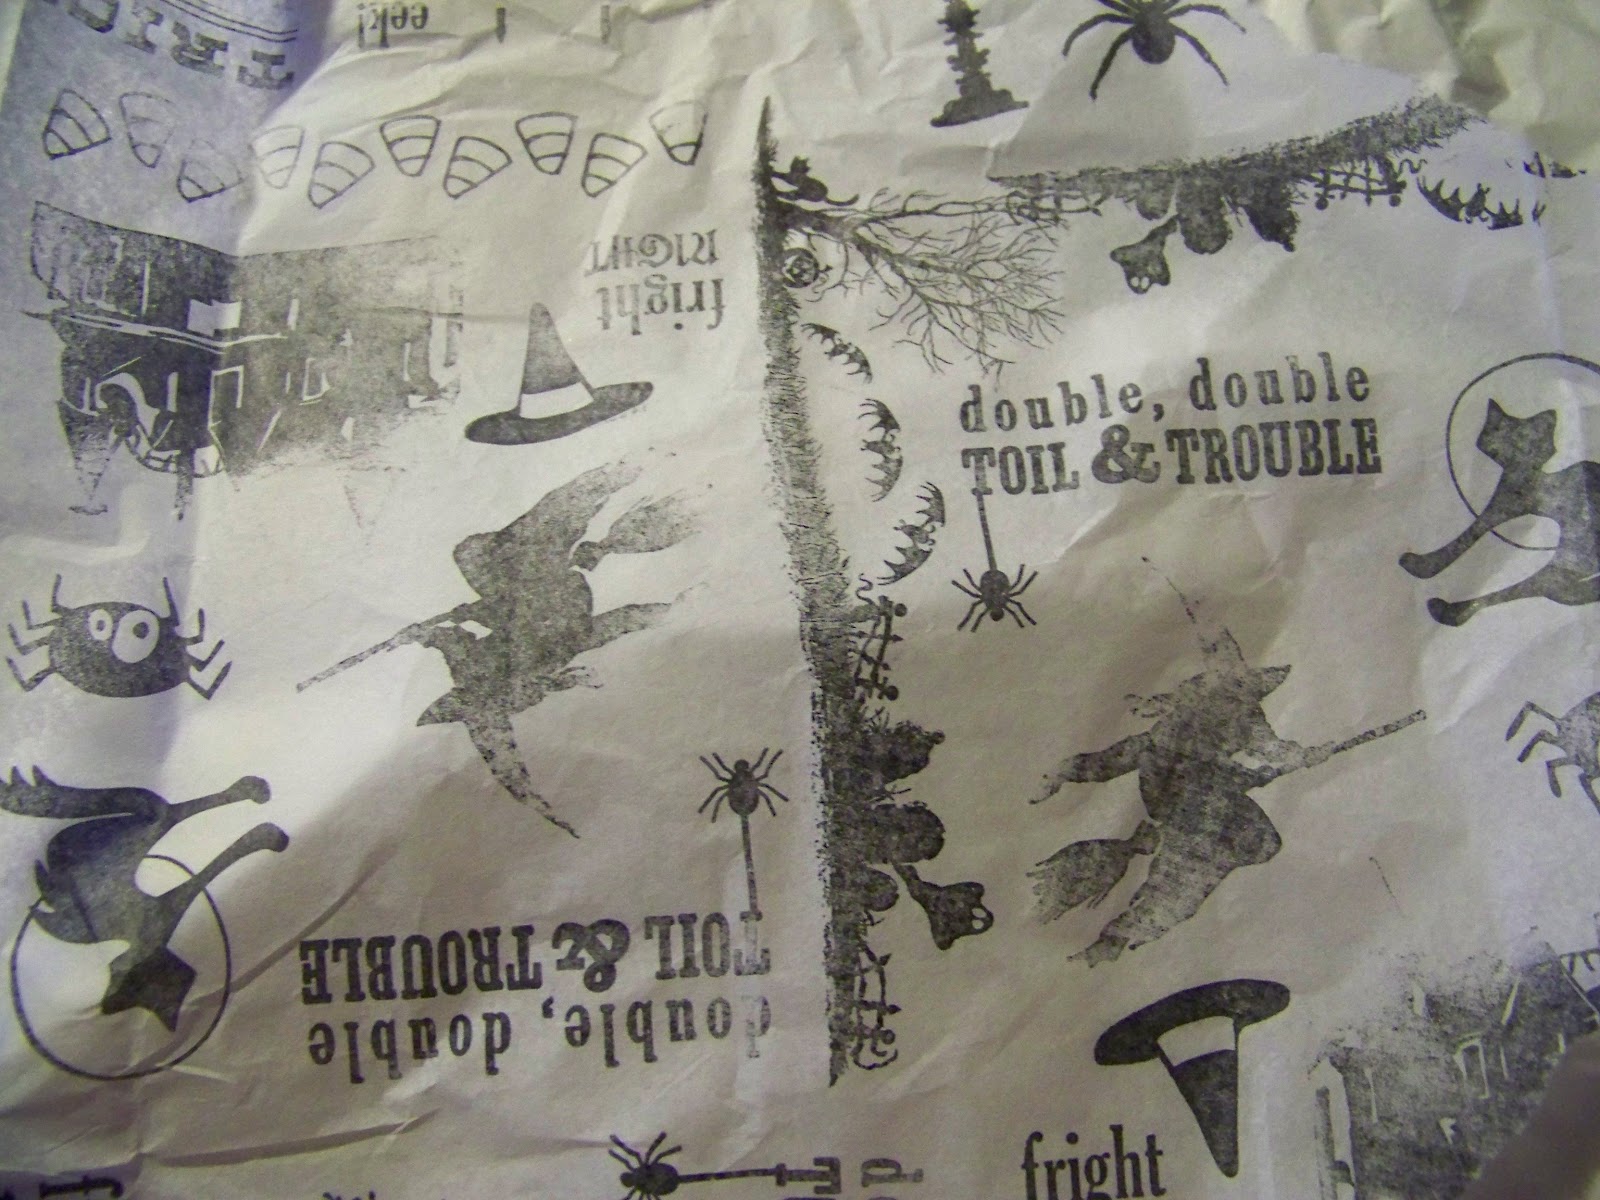
For my ORANGE project, I decided to make something a little scary!  Just a little scary for me too...I had never made a home decor collage project.  Although, all scrapbook pages are sort of a collage, and I'd created banners, this was different for me.  Lots of steps and layers were a bit intimidating, and I placed and re-placed and positioned and re-positioned all of the elements a zillion times before I started gluing.  I started by arranging (and re-arranging) an assortment of Halloween stamps onto my Fiskars stamp press as seen below.
 
 
Then, I stamped randomly on some white tissue paper using black Stazon ink.
 
 
I glued the tissue onto a thick sheet of cardstock.
Next, I started inking with Tim Holtz Distress Inks and Stain...more randomness


I started punching and cutting...I spy with my little eye Fiskars Grandma's Doily, a small cloud (as clouds and ghosts), a small bare tree, and I used my Fiskars Ultra Shape Xpress to cut this tree from the Woodland Tree Template (the checkerboard-like, flocked paper is from My Mind's Eye).


Then the arranging and layer began (that part lasted a long time).  Finally gluing.


Thanks for stopping by...
Now, all fun blog hops have a few sur-prizes thrown in!  Leave a comment below, telling me one thing you want to create but never have yet.  I'll choose a winner on Monday who will receive some "happy mail".


For more information about Fiskars and the Fiskateer program, you can go to http://www.fiskateers.com/join/.

Now, along to my friend Maya #351 at www.mayadahan.blogspot.com,
she's the next blog on the hop.
 
~Kelly
Pin It

Tuesday, October 23, 2012

whatever makes you scream

OK.  These fake, little, paper spiders are not going to make you scream.  But, they are perfect for donning these October birthday cards that I just sent out.  EEK!  Another birthday!

I stamped the background with white ink and a stamp from Tim Holtz mini-blueprint set.  I dry heat embossed to add some sparkle.  And do I know how to finish a card a what...?  Googly eyes!


Get ready for a party on Friday...
 
 
~Kelly
Pin It

Monday, September 24, 2012

Whatever is lifted...part 2


Still celebrating another year of "lifting" over at the  Fiskateer site...
for the Lift Off-Lift the Same Name Challenge, I was inspired by the design of this great flower from Kelly #1017 (see her flower here)


 I cut a strip of paper 1 1/2 inches wide and then punched the strip with my Fiskars Threading Water border punch.  I cut a strip at the dip of each scallop to get the "petals" of my flower and then started arranging and gluing them onto a punched 2" circle.


For the center, I cut a circle and placed it in a bottle cap.  I put some Glossy Accents in the center and pressed some beads into the puddle.  I topped everything with more Glossy Accents, and set it aside to dry (for  a    L   O   N  G    time).


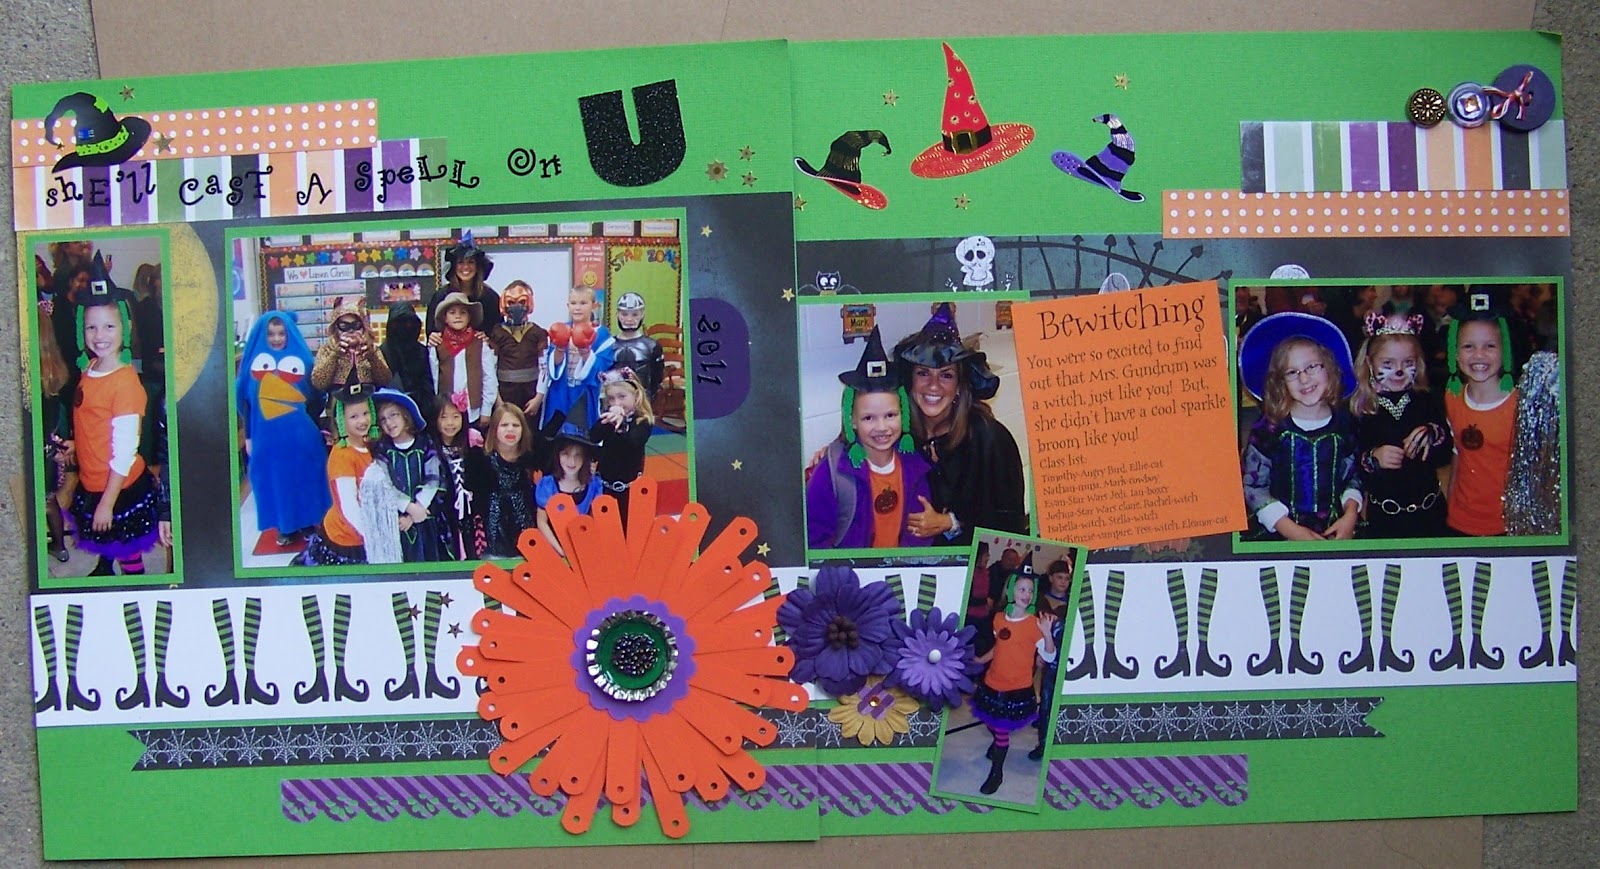
This page design comes from a sketch over at Scrapbook Challenges, sketch #309.  This site remains one of my favorites for sketches.  This layout was chosen as a gallery gem for the week of August 24th over on the Scrapbook Challenges blog.


If' I'm posting Halloween layouts, it must be fall!  Who am I kidding, for my regular followers, you know it very well could be February and I would be posting Halloween layouts.  But, it really is fall!  The temps are getting chilly at night, we've even had frost in the garden!  It's my favorite time of year and I'm taking lots of pics to scrap for the future...I'm also trying to get some yard projects done---eek!

~Kelly

Pin It
  

Tuesday, October 18, 2011

Pumpkinspiration


I'm a guest over at www.bugaboominimrme.blogspot.com today!  It is PUMPKINSPIRATION time!  There are paper crafts, home decor, Halloween and Fall decorations, and more, more, more.  She even lets you take a peak at her Pumpkin Pinterest board!  Here is a sneak peak at my creation...


Tuesday, October 11, 2011

WARNING! Crafty kid ahead!

Witches...goblins...ghosts...all trying to get their hands on my scrappy paper supplies!  So, this week, I gave in!  My daughter and I created a simple, funky, paper pumpkin. 

First take some double-sided Halloween paper (or if you want to be "high-maintenance", like my daughter, have your child insist that you glue 2 single-sided sheets together).  Curve the paper in half (don't fold or crease).  The side that you fold "out" will be the inside when you are done, so think carefully about which side you want to see more of.  Use clothespins to hold the paper in place while your child cuts from the curved fold toward the edges, stopping about 1 inch before the edge.  We used some fun paper edgers, but regular scissors will do too.


Cut strips one inch wide all the way to the end and remove your holding clips.


This is where a parent is needed, or someone capable of using a hot glue gun safely.  Lay a strip of hot glue on the edge of one side of  your "inside" paper.  Turning your paper "right side out", line up the edges and adhere. 

Using a strip of scrap paper 1" x 2", hot glue this scrap to the inside edge of your rings.


Add a dab of hot glue to the end of the scrap paper and bring your rings around to connect and make a circle.  This could be a cool wreath too!


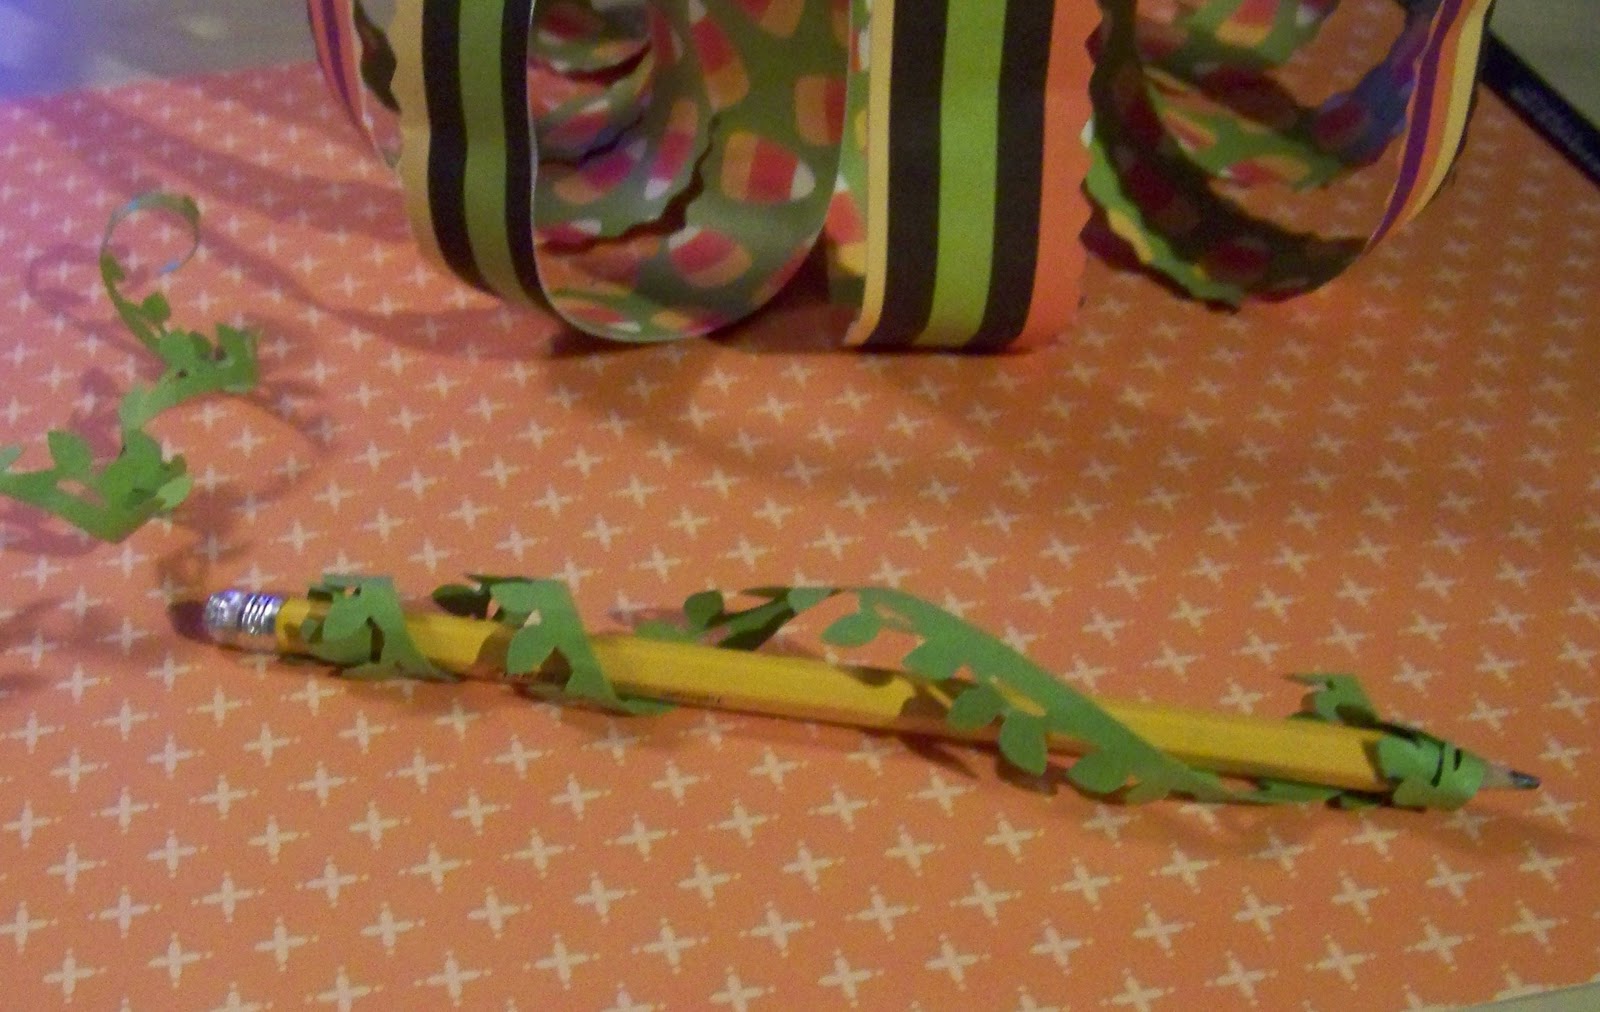
Now, according to "Fancy Nancy", everything is better when it is "accesorized".  This paper pumpkin is still not looking too "pumpkiny".   So, we cut strips of paper and used our Fiskars Leaves Border Punch to make vines.  We wrapped the border strips around pencils to give them that "real" vine look.


We added a crunched-up, used, paper lunch bag as our stem in the center to finish off our accessorizing. 

Wouldn't you love to find this funky pumpkin in your garden?  According to my daughter, it looks "MAHVELOUS"!


Supplies: Patterned Paper: Recollections, Tools: Paper Edgers: ProvoCraft, Border Punch: Fiskars, Other: cardstock, hot glue sticks and hot glue gun, brown paper lunch bag (used, recycle!)

Sunday, October 24, 2010

Got gum? I have Halloween gum wrappers!


I have a love for monsters. Not only the 4 I have at home (just kidding--I love you kids), but silly, goonie-looking not so scary monsters. They've shown up here on these gum wrapper treats. I cut these monsters out of some creep-a-licious paper from Reminisce. Trick or Treat? Definitely a treat!

Monday, October 11, 2010

Pick-a Pick-a Pumpkin from the pile...and a "banner" Halloween


I made these pumpkins about 5 years ago, and even though they get squished into a plastic bin for storage after Halloween every year, they've held up very well. Except a few have gotten their "stem" pulled out by a Golden Retriever I know that likes to chew on sticks (we should have named him "Chip").

They are "sew" easy...I thought I would share them with you.

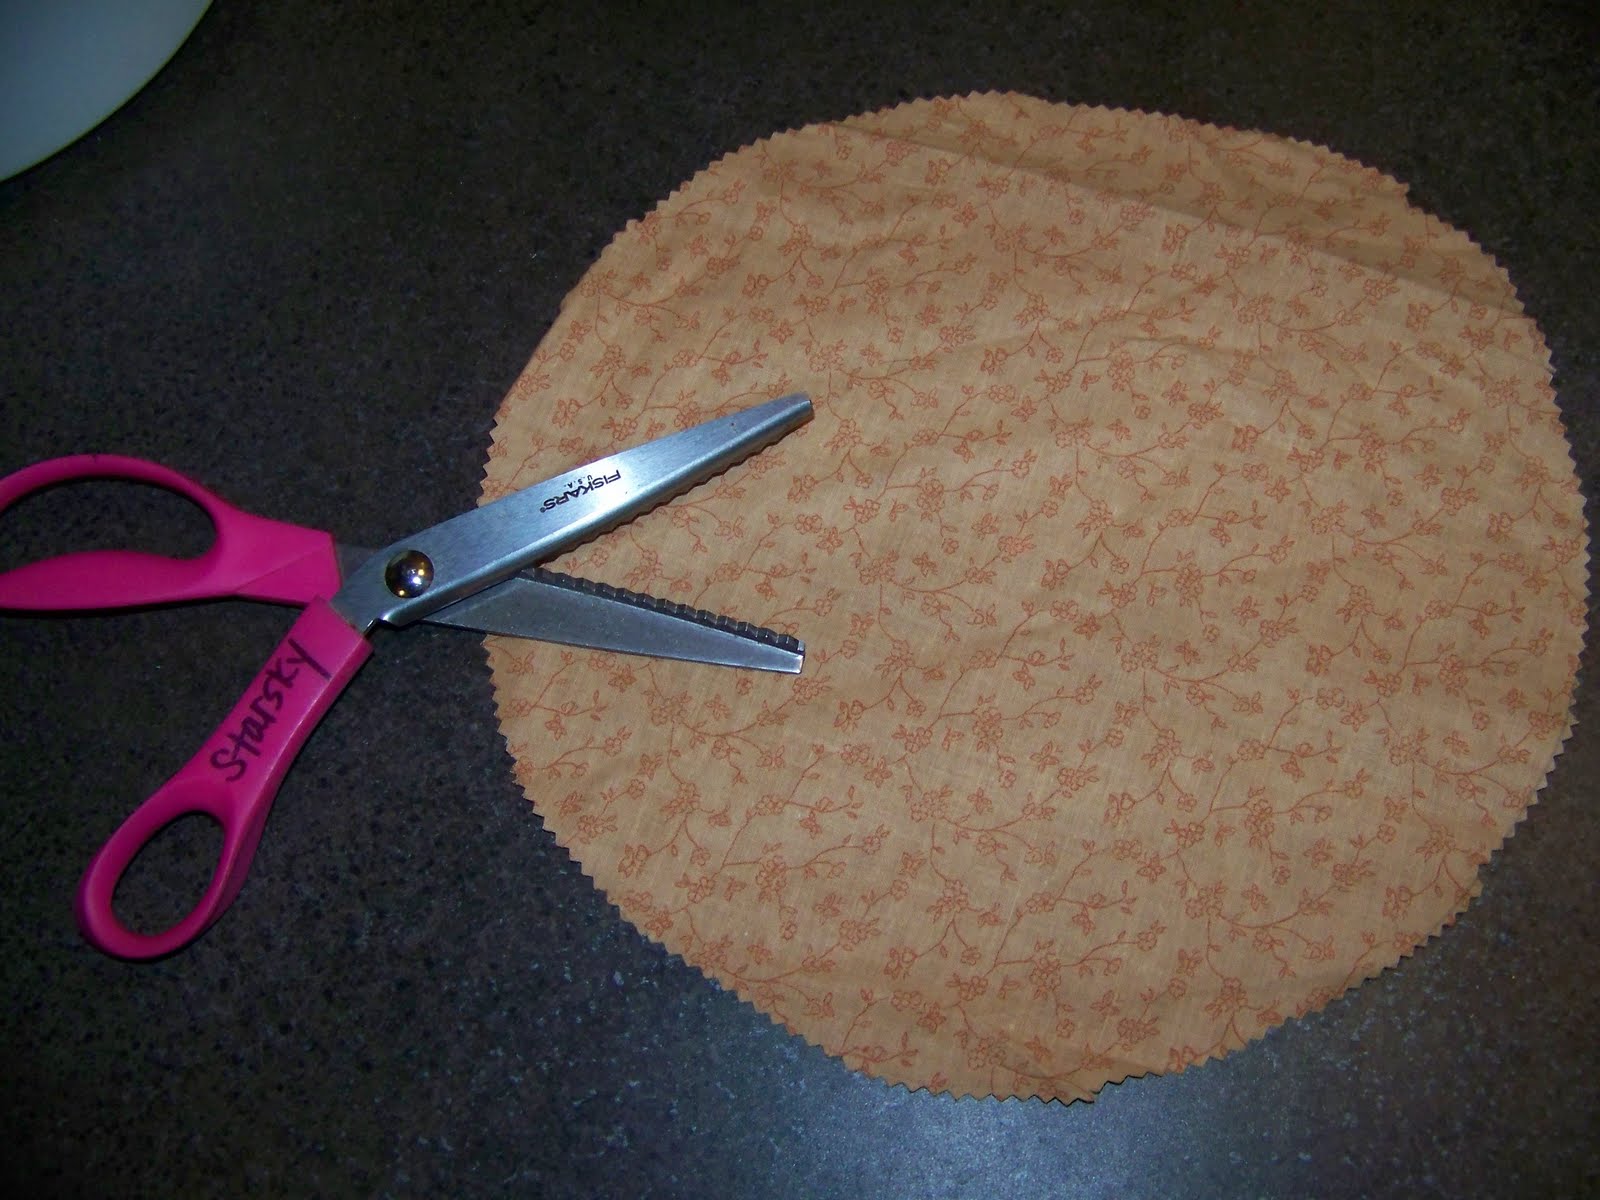
I start by using a bowl or template to draw a circle on some material, and then cut out the circle (I like to use pinking shears to avoid the un-ravelling edge).


I take a needle and thread and do a quick running stitch (in, out, in,out) all of the way around the edge. No need to be perfect here...no one will see your stitches.

I add a little "filling", pull the thread, add a stick for a stem, and tie it up.

I add some ribbon scraps for leaves/vines. After I've made a few pumpkins, in all different patterns, I take 3 or 4 and hot glue them together.

I've made my own pumpkin patch for a fall display in the family room and around the flower centerpiece on the dining room table. Let me see your pumpkin patch!

Fall is in the air, literally, in the air, hanging between rooms...I made this 2-sided Halloween banner for a challenge over in Fiskateerland a few weeks ago. I hung it up and was happy, but it just needed something more. I decided to tie on some scraps of fabric cut into strips, and now it is complete!