Saturday, November 29, 2014

Create with a cookie (almost)...


At our house, the day after Thanksgiving is reserved for decorating the house for Christmas.  This year, I created something new for the kitchen, and it LOOKS good enough to eat...
but DON'T (unless you want splinters in your teeth)!


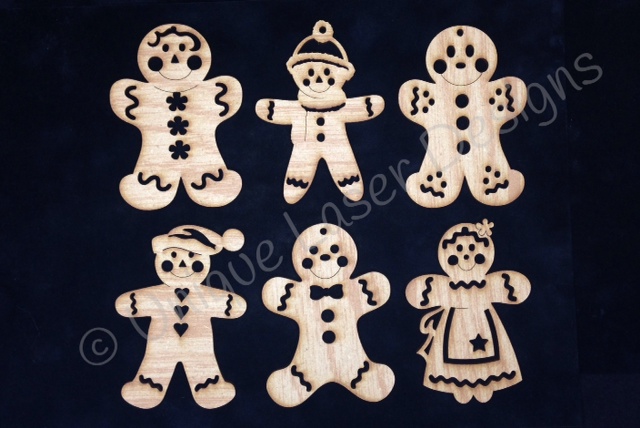
Using these adorable gingerbread ornaments from Unique Laser Designs, I made a simple garland with just some ribbon, wooden beads, and twine.


First, I covered the gingerbread men with clear VersaMark ink and then bathed them in embossing powder (Espresso from Adirondack).  When I heated them up with the heat gun, I was mesmerized as they developed this great texture that even turned a little white around the edges.  Once cooled, I added just a bit of Stickles (rock candy) on the edges to give them just a little sparkle.


I strung some painted wooden beads on some twine and then hot glued the gingerbread men on, separating them with some gingham ribbon scraps.

These guys are ready for hanging in the kitchen.  One decoration down, about 512 more to go!

My term on the Unique Laser Design Team is coming to a close, and I have truly LOVED these wood shapes.  I will keep coming back to get more with each new reveal.   

And, just for you shoppers, here is a DEAL!  35% of the whole ULD store through Monday (enter the code THANKS35 at checkout).  Stuff your stockings!


Don't forget, show us your true colors over at the Scrap It Girl blog...we want to see your projects with COLOR (paint, watercolors, gelatos) by tomorrow (Sunday).

~Kelly


Pin It


Wednesday, November 5, 2014

Create with sparkle...


Once Halloween passes, I head right into the sparkle. I don't forget about Thanksgiving, but while my mind is focused on being grateful, my hands are busy creating for the Christmas season.  And for me, this season gives me the go-ahead to sparkle sparkle sparkle.


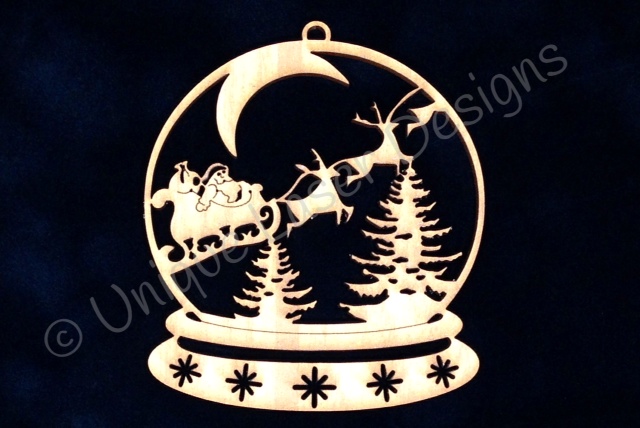
My first sparkly project of the season uses this wooden snow globe from Unique Laser Designs as the main focus of an over-sized tag. I spread a thin layer of Tacky Glue over the whole ornament (the end of a paper clip works great for moving the glue out of the intricate designs) and then sprinkled on a heavy load of ultra-fine platinum silver glitter. I added a red ribbon to the top too.

For the base of this tag (which is 4"x5"), I covered it in white cardstock and then punched out all different sizes and shapes of snowflakes from the same white cardstock and glued them on closely and randomly.  I even let some hang over the edge and then trimmed them later when I had the whole tag covered.  

I framed the edge with some black and white polka dot washi tape and added some die-cut trees that I "snow-swiped" with Picket Fence Distress Stain.  Speaking of paints and stains, that is the challenge this month over at Scrap it Girl.  Show us your projects that you've added some additional color to (watercolors, paints, stains, gelatos, etc.)  I'm going to have some more colorful projects to share soon.

I glued the snow globe to the tag along with some song lyrics and now this tag is a perfect addition to a simple hostess gift (maybe on a bottle of wine?).


Wishing you lots of crafty time as we begin these seasons of being grateful and being sparkly!


~Kelly
Pin It

Wednesday, October 8, 2014

Create for the door (again)...


With all the wreaths I have made, one would think I live in a house with 1000 doors.  The truth is, I only have 2.  But, I like to re-arrange and update and refresh and change my door decorations a LOT!

This berry wreath has been around my house for awhile, so I though it was time it got a makeover.  I used a large (5") letter "S"  for Starsky and small (1") numbers for our address and an oak leaf (from the 5 piece leaf set) all from Unique Laser Designs. Twinkling H20s are my new favorite watercolor and they added a sparkling shimmer to the oak leaf and to the numbers.


For the "S", I used Distress Stains, creating overlapping stripes along the grain of the wood and then I added some random criss-cross swipes with more Twinkling H20s.

I added that oak leaf with a removable adhesive so I can replace it with different shapes depending on the season.  I'm thinking an ornament for Christmas, a heart for Valentines Day, a bunny for Easter, a flower for spring.  Looks like I have some more creating to do!  Thankfully, Unique Laser Designs has a shape for every need and for every holiday!

~Kelly
Pin It

Wednesday, October 1, 2014

Create a face...


It's all about the face...about the face...about the face. 

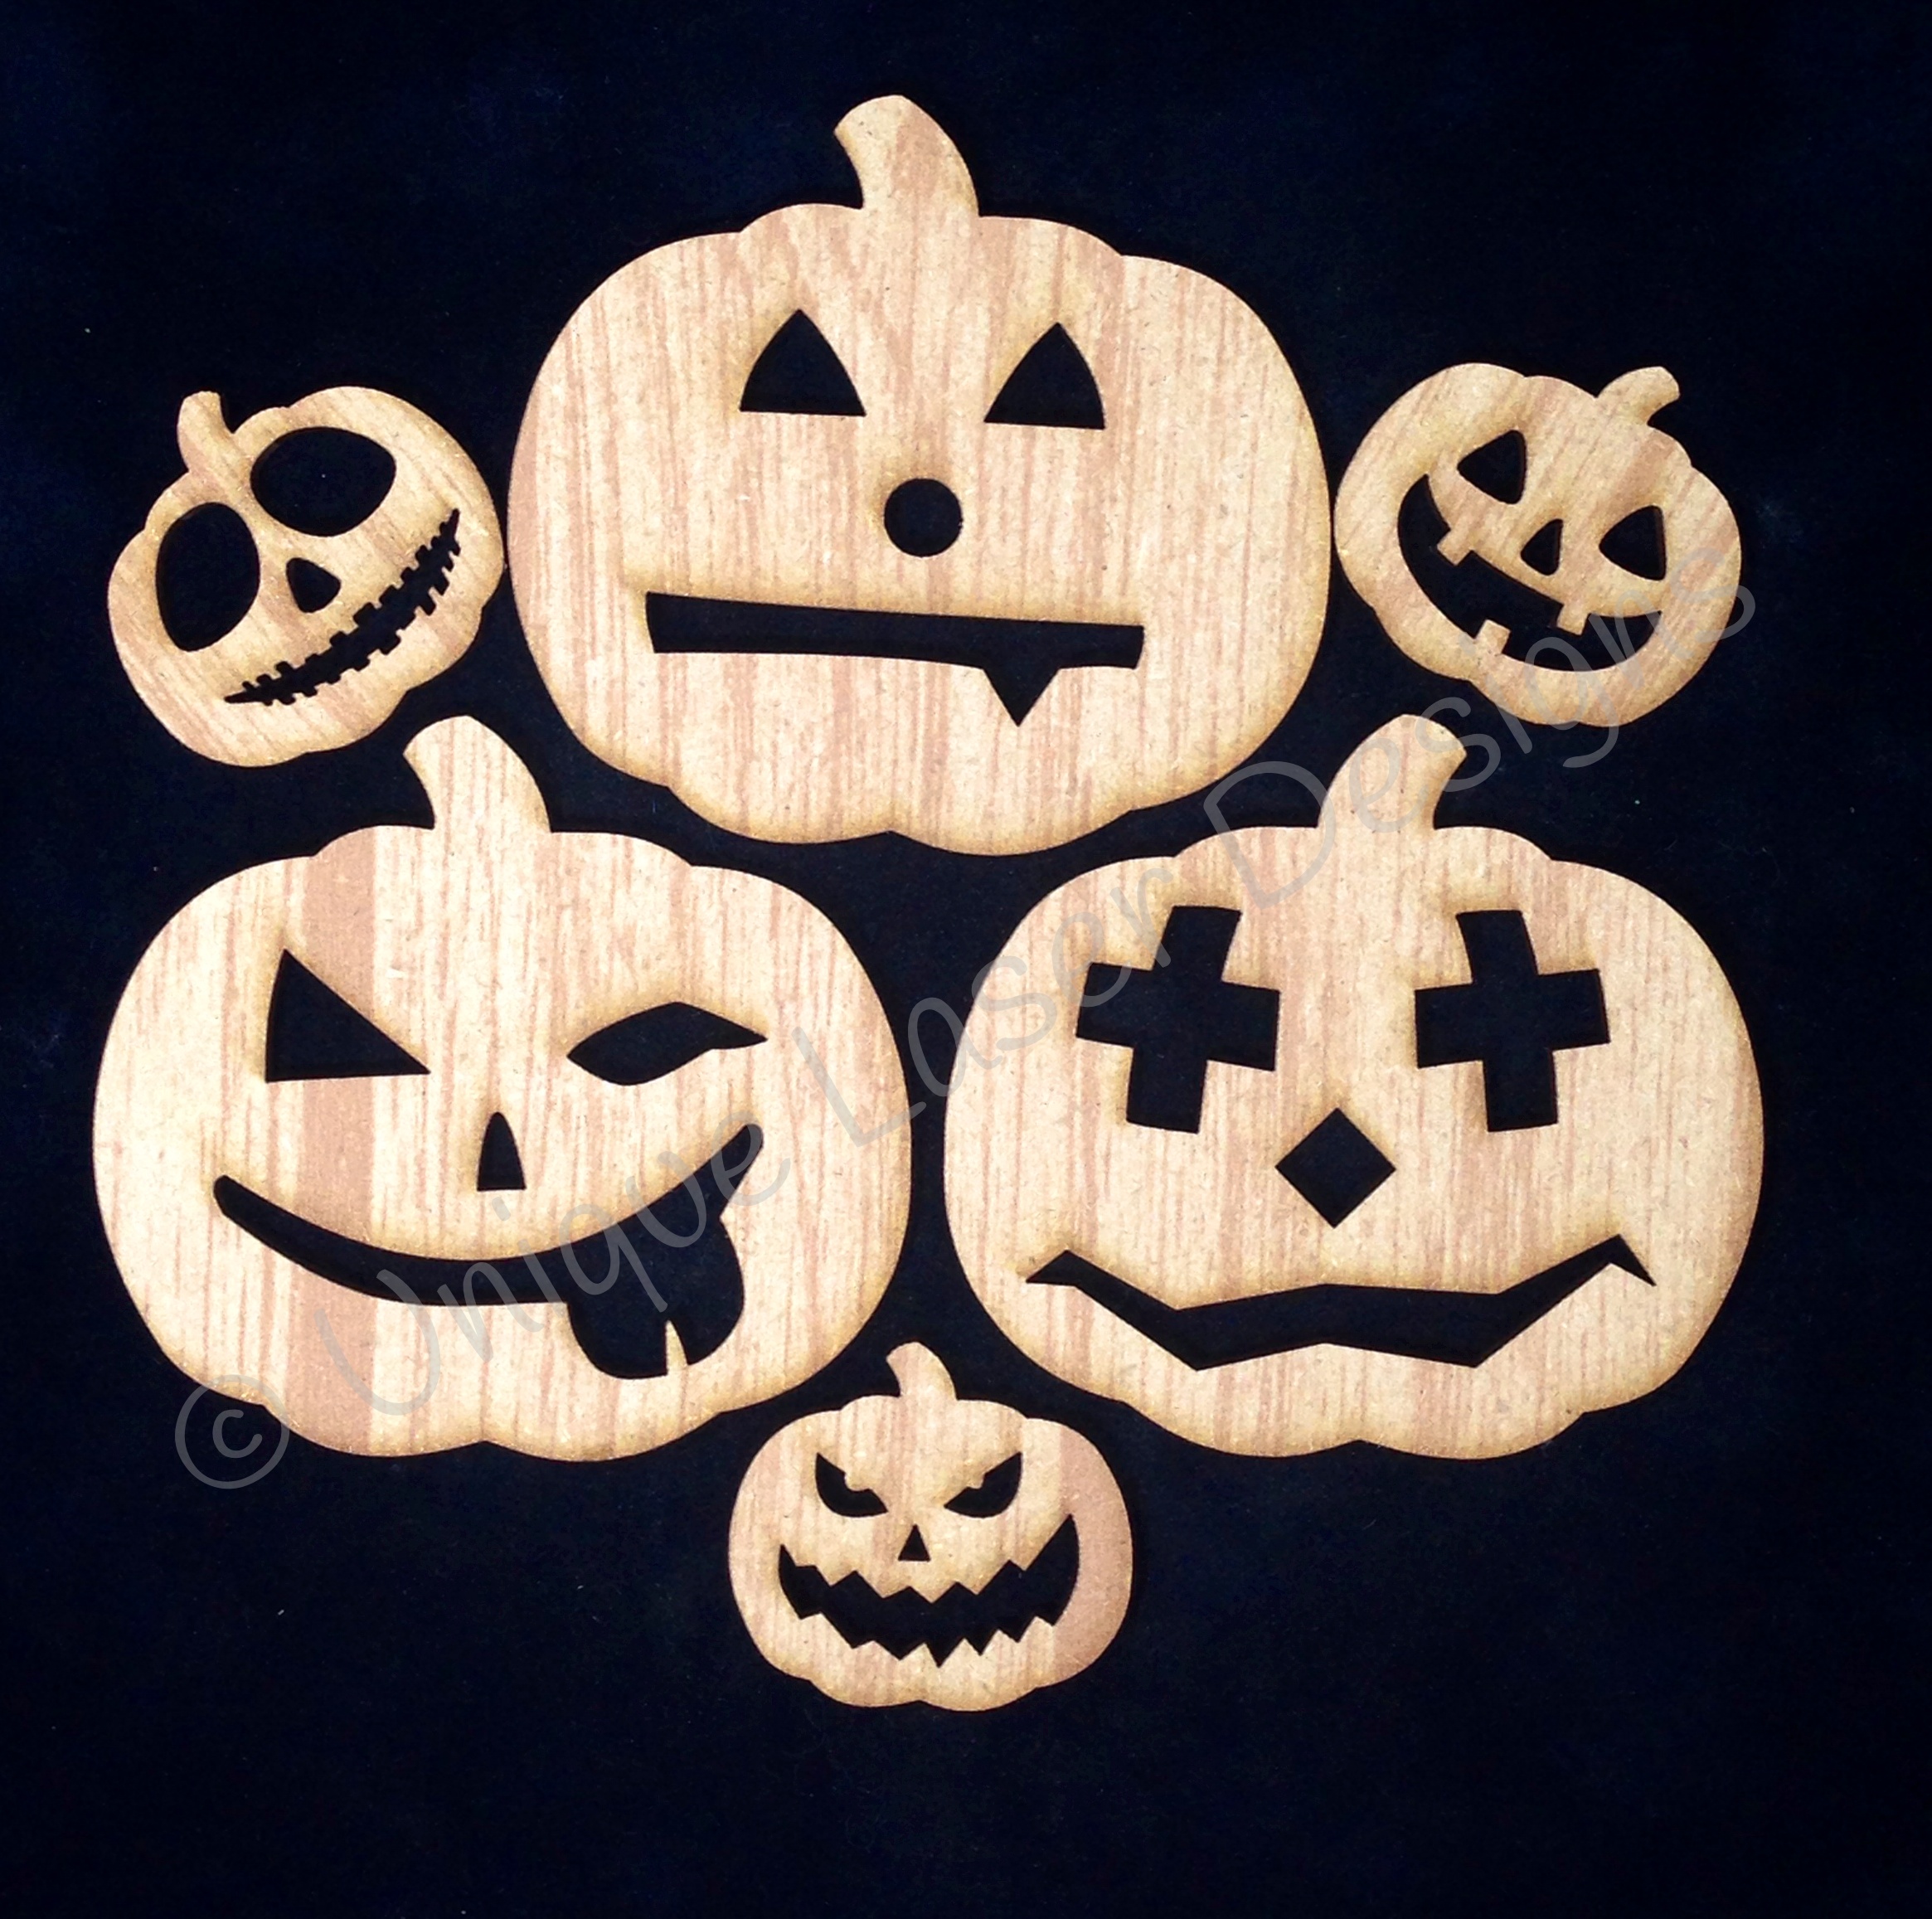
And these silly faces, from Unique Laser Designs, are pumpkin perfect for some spooky decor as autumn and Halloween come knocking on our doors.

I painted one side of each face with acrylic paint (different shades of orange).  I stamped a pattern on each with clear Versamark embossing ink, and then poured on UTEE (ultra-thick embossing enamel), shook off what didn't stick, and used the heat gun to watch it rise.

On the other side of each face, I glued on a sheet of patterned paper (I used the wood pumpkin as a stencil to get the perfect shape). I LOVE how the patterns show through the detailed cut-outs of the eyes, nose, and mouth. Next, I laid down twine to connect the three pumpkins and then glued another patterned paper pumpkin shape over that .


Included with the ULD pumpkin pack, are the "negative shapes" from the laser cutting process.  PERFECT for adding dimension as I used these "leftovers" to create MORE faces.

I tied some ribbon scraps on the twine and this is ready to spin and hang as a greeting to your Halloween visitors. EEK!


 ~Kelly

Pin It

Friday, September 19, 2014

Create for the door...


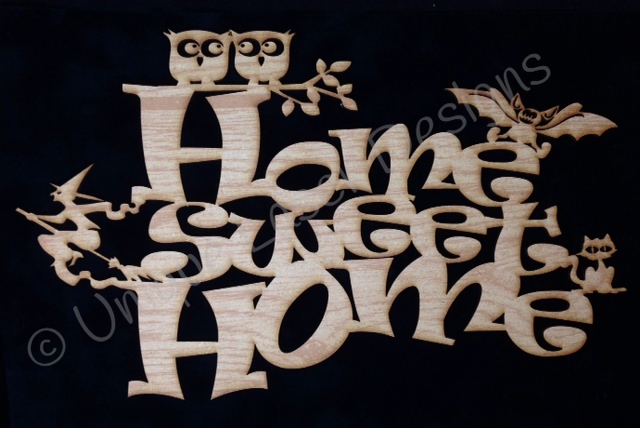
Don't let all of these colorful details scare you away from making this Halloween wreath.  You can make this wreath in about an hour with some yarn, paper rosettes, glue, micro-glitter, and this Halloween wood design from Unique Laser Designs.  First, I wrapped a straw wreath with yarn and then I moved onto the sparkly part of the project.

I covered the whole wood design, "home sweet home", with a piece of scrap paper, but revealed one section at a time.  To that section, I spread on a thin layer of glue and then sprinkled on micro-glitter. Then I moved onto a different section and a different color of glitter.  The flying witch and the bat are purple, the cat and owls are teal, and the "home sweet home" is covered in black micro-glitter (and now so am I).


 I added some paper rosettes and stars and this wreath is ready for the front door!

Halloween decorations don't have to be scary or creepy...
sometimes they can be cute and SPARKLY!

What's on your front door for Halloween?  
Nothing yet?
Why not start with something from Unique Laser Designs...shop HERE!

~Kelly

Pin It

Monday, September 8, 2014

Create old school...


Yesterday it was 85 degrees, today it is 72.  Fall is in the air, and that means it's time to go back to school.  I'm going "back to school" with my project today too.  Over at the Chicagoland Scrapbooker blog, we are going "old school" all month.  Not only did I use an old school photo of me, but the patterned paper I chose has an "old school" feel to it too. The tweed background, stripes, chalkboard alphabet, the phonics blocks, and the penmanship lined paper---all bring back those grade school memories.  

I was in school in the 1970's, so inking over a groovy circle looped stencil with a bristled brush was just one more way to return to my old school ways. Over at the Scrap It Girl blog, the challenge this month is to show us your project that includes use of a stencil or mask.  This groovy one that I used is an older one from Crafter's Workshop. Join in the challenge and you can win a prize pack. Check out more info about the monthly challenge, HERE.

Now, do you remember the popsicles that had jokes written on the bottom of the sticks and then you had to eat the popsicle to reveal the punch line?  I didn't have to eat any popsicles this time, but I thought using popsicle sticks to frame my photo was one more way to bring nostalgic thinking to this layout.  

This oak leaf and Polaroid frame (turned into a chalkboard with black paper and a white gel pen) are wood embellishments from Unique Laser Designs.  To color the the leaf, I used Twinkling H2Os (from Creative Imaginations).  In this picture, you cannot adequately see the amazing shimmer from this copper paint.  For the frame, I quickly and simply ran some Distress Stain (wild honey) over the wood to give it a hint of golden color.


Last "old school" item---an apple sticker.  I've been a sticker collector for a  L   O   N    G     time.  I think it was scratch-n-sniff smelly stickers that were my first love.  I still have a LOT of stickers, and while I don't use them as often as I used to, they are still a go-to embellishment for me.  That's my old school style. What's yours?


~Kelly

Pin It

Tuesday, August 19, 2014

Create for a birthday, a birthday, and school


August---full of birthdays and then onto eeeek--"school".  The mere mention of it sends shivers down my spine.  But, I will acknowledge its upcoming presence by the end of  this post.  First, I just wanted to share a few quick cards with you that I made using the Polaroid frames from Unique Laser Designs.  Yes, you can use them to frame a photo, but look how cute they are on a card!

On this ice cream card, I colored the frame with a creamy metallic silver gelato.  The little hexagon is colored with a sparkly gel pen. Did you guess that the scoop of the ice cream is really a cloud? I'm so sneaky!  I colored that with a Copic marker and then swirled Stickles (rock candy)on to make it sparkle.


I know I showed you this card already, but I'm showing it again to remind you to join in the Scrap It Girl challenge for August---use an arrow or a # on your project.  More details are HERE.  

Hexagons are the theme for this card.  I dry embossed a hexagon pattern on the card and then added a Polaroid frame again---this time I used a paint marker to color it black. The small wood hexagons with the sentiments-- I rubbed on different ink pads, just like I did the cute bee (see below)---easy easy easy and quick! 


I used a Sharpie to color the black stripes on the bee and then covered it (really thick) with a layer of Stickles (rock candy again). It looks like a suncatcher--so crackly and sparkly at the same time.

Now, onto school. We are being extra creative with Back to School ideas on the Chicagoland Scrapbooker blog.  Something new every week during August.  My daughter is going to be in 5th grade and is SO excited to find out who her homeroom teacher will be.  To celebrate that first day of school, I used a Unique Laser Designs ATC card and made a chalkboard by painting on a few layers of chalkboard paint before adding some die-cut letters and leaving some room to write with chalk.  The soda stamp is from Unity and I stamped it with glue from the Rubber Cafe and then sprinkled on extra fine glitter.  Sparkly goodness!  A few strings of twine hot-glued onto the back and it's ready to hang around a soda bottle. Now, it's re-usable and her teacher can pass a message on and  be "soda-lighted" for someone else (for a birthday, a great test score, a travelling award around the classroom).


Hope you are "soda-lighted" with these projects that you are feeling inspired to celebrate a birthday, a birthday, and school!

The birthdays, I'm ready for!  School---not so much.
Enjoy these last few weeks of precious summer.


~Kelly
Pin It

Sunday, August 3, 2014

Create some sunshine...

Trying to hang onto the warmth and the sunshine as we move into August.  Just had to do one more summer project before I give into oak leaves and ghosts.  

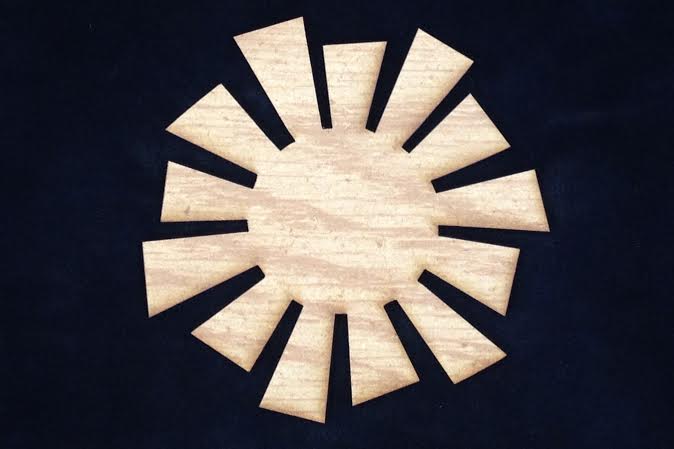
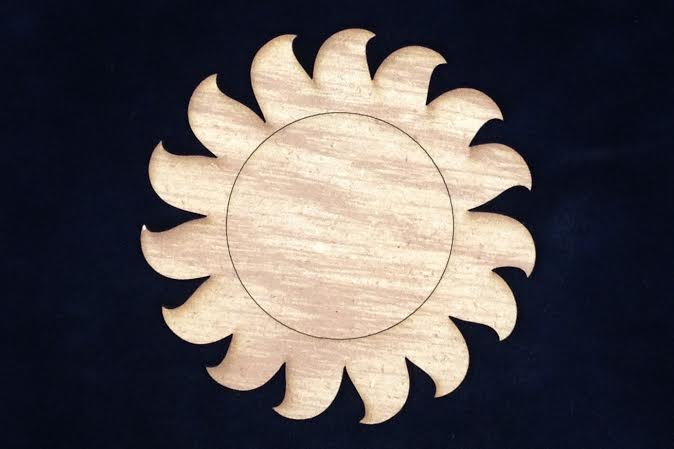
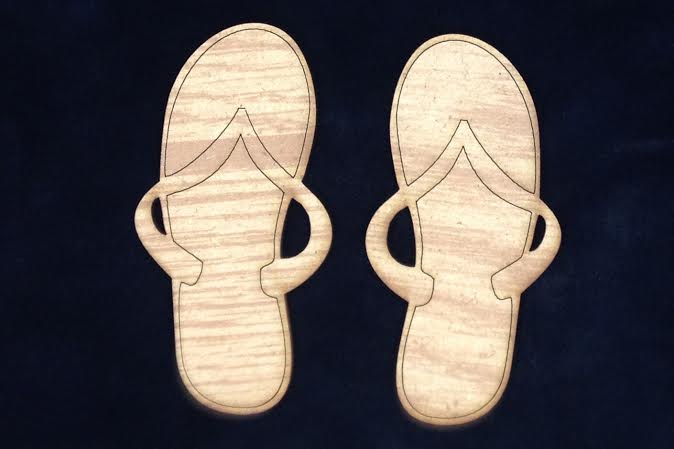
Today, I'm using these fun suns and cute flip flops from Unique Laser Designs on a straw wreath that I wrapped with bulky blue variegated yarn.


www.uniquelaserdesigns.com


Last month, Kimberly gave us some great ideas for ways to add color to our wood shapes from Unique Laser Designs (if you missed that post, you can see it HERE).  That got me thinking...how about nail polish?  Shining up these flip flops was my chance since I wanted to color them a bright green and I didn't have the right color in my box of acrylic paints.  Two coats did it--added color and shine all at once.

Then, I used a Copic marker to add the pink around the edge. Lastly I put a heaping ribbon of Tacky Glue on the straps and poured on pink super fine glitter (that took a while to dry).

Onto the suns...

The top sun, I painted with Ranger Distress Crackle in white and then after it dried I rubbed Wild Honey Distress Stain over it---I love, love, love how it turned out.

The swirly sun, I covered in Tacky Glue and then poured super fine yellow gold glitter over.

For the bottom sun, I painted it with a mustard yellow acrylic, then stamped it with Versamark ink using a chevron pattern stamp. Lastly I covered the wet ink with clear embossing powder and heated it up with a heat gun to get that powder to "rise and shine" (sometimes I crack myself up)!


So, I am definitely not ready to say goodbye to summer...we have a whole month of sunny goodness before the "s" word (school) is back in the vocabulary.  What's your August summer project?
~Kelly

Pin It