Showing posts with label distress stains. Show all posts

Wednesday, October 8, 2014

Create for the door (again)...


With all the wreaths I have made, one would think I live in a house with 1000 doors.  The truth is, I only have 2.  But, I like to re-arrange and update and refresh and change my door decorations a LOT!

This berry wreath has been around my house for awhile, so I though it was time it got a makeover.  I used a large (5") letter "S"  for Starsky and small (1") numbers for our address and an oak leaf (from the 5 piece leaf set) all from Unique Laser Designs. Twinkling H20s are my new favorite watercolor and they added a sparkling shimmer to the oak leaf and to the numbers.


For the "S", I used Distress Stains, creating overlapping stripes along the grain of the wood and then I added some random criss-cross swipes with more Twinkling H20s.

I added that oak leaf with a removable adhesive so I can replace it with different shapes depending on the season.  I'm thinking an ornament for Christmas, a heart for Valentines Day, a bunny for Easter, a flower for spring.  Looks like I have some more creating to do!  Thankfully, Unique Laser Designs has a shape for every need and for every holiday!

~Kelly
Pin It

Monday, September 8, 2014

Create old school...


Yesterday it was 85 degrees, today it is 72.  Fall is in the air, and that means it's time to go back to school.  I'm going "back to school" with my project today too.  Over at the Chicagoland Scrapbooker blog, we are going "old school" all month.  Not only did I use an old school photo of me, but the patterned paper I chose has an "old school" feel to it too. The tweed background, stripes, chalkboard alphabet, the phonics blocks, and the penmanship lined paper---all bring back those grade school memories.  

I was in school in the 1970's, so inking over a groovy circle looped stencil with a bristled brush was just one more way to return to my old school ways. Over at the Scrap It Girl blog, the challenge this month is to show us your project that includes use of a stencil or mask.  This groovy one that I used is an older one from Crafter's Workshop. Join in the challenge and you can win a prize pack. Check out more info about the monthly challenge, HERE.

Now, do you remember the popsicles that had jokes written on the bottom of the sticks and then you had to eat the popsicle to reveal the punch line?  I didn't have to eat any popsicles this time, but I thought using popsicle sticks to frame my photo was one more way to bring nostalgic thinking to this layout.  

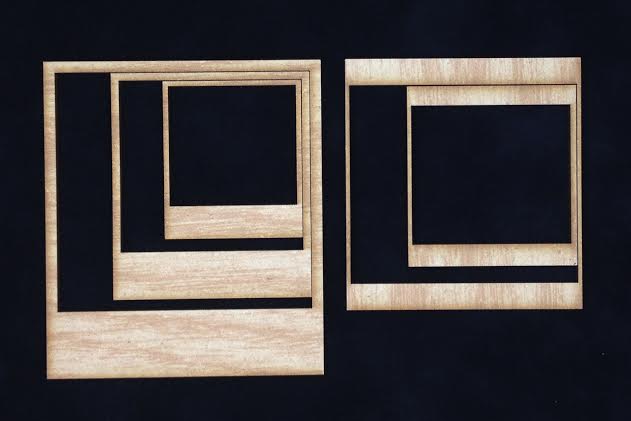
This oak leaf and Polaroid frame (turned into a chalkboard with black paper and a white gel pen) are wood embellishments from Unique Laser Designs.  To color the the leaf, I used Twinkling H2Os (from Creative Imaginations).  In this picture, you cannot adequately see the amazing shimmer from this copper paint.  For the frame, I quickly and simply ran some Distress Stain (wild honey) over the wood to give it a hint of golden color.


Last "old school" item---an apple sticker.  I've been a sticker collector for a  L   O   N    G     time.  I think it was scratch-n-sniff smelly stickers that were my first love.  I still have a LOT of stickers, and while I don't use them as often as I used to, they are still a go-to embellishment for me.  That's my old school style. What's yours?


~Kelly

Pin It

Sunday, August 3, 2014

Create some sunshine...

Trying to hang onto the warmth and the sunshine as we move into August.  Just had to do one more summer project before I give into oak leaves and ghosts.  

Today, I'm using these fun suns and cute flip flops from Unique Laser Designs on a straw wreath that I wrapped with bulky blue variegated yarn.


www.uniquelaserdesigns.com


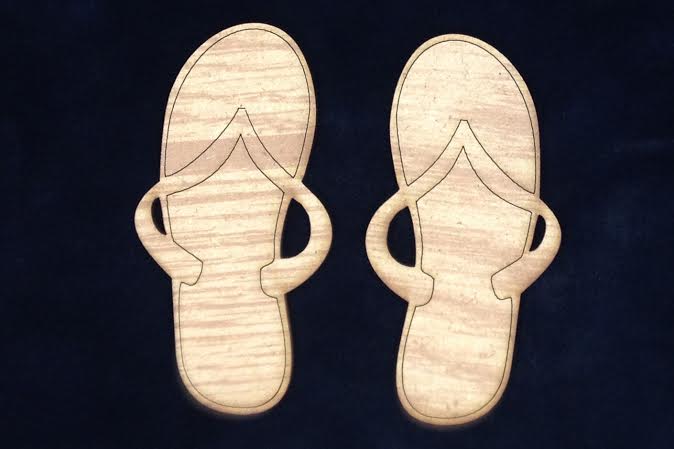
Last month, Kimberly gave us some great ideas for ways to add color to our wood shapes from Unique Laser Designs (if you missed that post, you can see it HERE).  That got me thinking...how about nail polish?  Shining up these flip flops was my chance since I wanted to color them a bright green and I didn't have the right color in my box of acrylic paints.  Two coats did it--added color and shine all at once.

Then, I used a Copic marker to add the pink around the edge. Lastly I put a heaping ribbon of Tacky Glue on the straps and poured on pink super fine glitter (that took a while to dry).

Onto the suns...

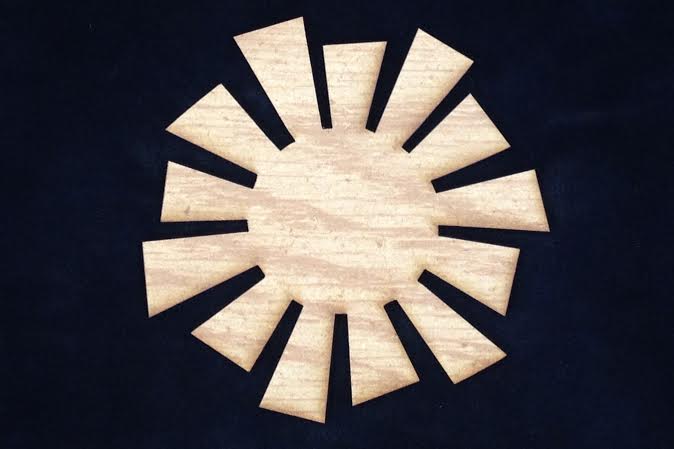
The top sun, I painted with Ranger Distress Crackle in white and then after it dried I rubbed Wild Honey Distress Stain over it---I love, love, love how it turned out.

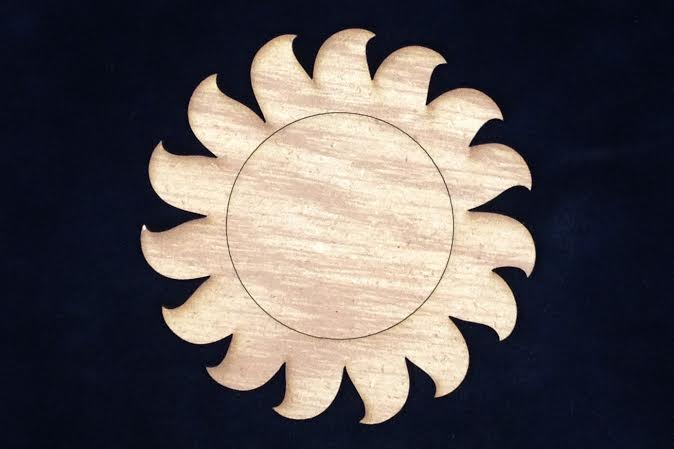
The swirly sun, I covered in Tacky Glue and then poured super fine yellow gold glitter over.

For the bottom sun, I painted it with a mustard yellow acrylic, then stamped it with Versamark ink using a chevron pattern stamp. Lastly I covered the wet ink with clear embossing powder and heated it up with a heat gun to get that powder to "rise and shine" (sometimes I crack myself up)!


So, I am definitely not ready to say goodbye to summer...we have a whole month of sunny goodness before the "s" word (school) is back in the vocabulary.  What's your August summer project?
~Kelly

Pin It

Tuesday, July 22, 2014

Create with honesty...


What could be more honest, than a layout about 
George Washington?  


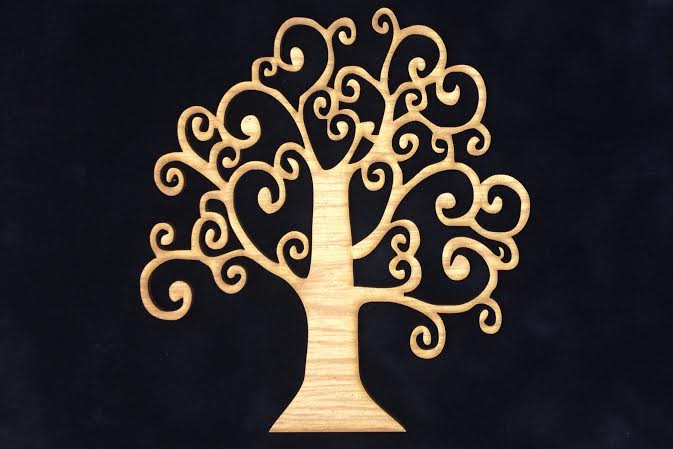
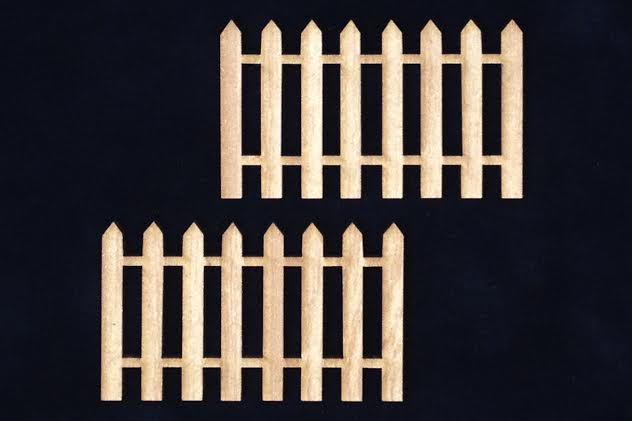
I used Tim Holtz Distress Stains (walnut for the tree, wild honey for the fence, and picket fence for the polaroid frame) to color these wood embellishments from Unique Laser Designs.  This method of coloring maintains the natural beauty of the wood without covering it up.  I added some red bling to complete my cherry tree, but then I really didn't feel like I needed to add anything else.  This was such a simple time in history, I didn't want to add too much.


The layout is very loosely based on one I saw in the most recent Close to My Heart catalog.  I added my own style with the wood embellishments and surprise---my version has a lot more photos!


~Kelly

Pin It

Thursday, March 13, 2014

Create a pocket for wishes...


I often find inspiration for my creations from music and today is one of those times. My daughter introduced me to this inspirational song from Chantal Kreviazuk called "Weight of the World". As soon as I heard it, I began to have images of this design developing in my head. 
It is a mix of patterned paper, paint, chalk, stencils, ink, watercolor pencils, lace, ribbon, metal wings, vellum, flower and swirly punches, a paper doily, sticky pearls, and washi tape.
But one of my favorite elements is this pocket. Using the Linnie Blooms Canvas Flourish Pocket, I created polka dots with a watercolor pencil. I covered the dots with Glossy Accents and let them dry. The Glossy Accents moistened the dots, but also, once dry, acted as a resist for when I inked the whole pocket with Distress Stains. I glued on some trim scraps (rik-rak, pom poms, and lace) and added a few blooms and a button.
Inside this pocket, secret wishes...wishes for dumping the weight of the world and wishes for taking off flying.
Wishing for more crafty time today? I hope your wish comes true!

~Kelly

Tuesday, February 11, 2014

Create one from the heart and two for fun...

I'm creating Valentines big and small with my Linnie Blooms canvas shapes today.  I have not ventured my mixed media onto canvas before, so I started with an 8"x 8" size so I wouldn't feel too overwhelmed.  I knew that I wanted my embellishments and textures (along with the quote) to be my focus, so I wanted a more subtle background.


I spritzed some Distress Stain (worn lipstick) with water and just splattered, brushed, and dripped it onto the canvas and then let it dry overnight so that the splotches and bubbles dried just as they were when wet.  I wrapped the canvas with some metallic yarn and added the sentiment with a Sharpie marker.


I used Copic markers to color the house/arrow and heart.


I stamped (with gray ink) the background of the canvas with some Close to My Heart stitched hearts, wrote my sentiment  (wherever you go-go with all your HEART), and then layered, layered, layered.  You can spy some punches, button, stamps, burlap, tulle, twine, stickers, and a bingo card. 

One Valentine present done.


When I looked at my Linnie Blooms canvas pocket one day, for some reason I saw a beak.  So this became...


THIS! (with the help of my daughter). 

 With oil pastels, she colored the pocket and I colored the wings (a Linnie Blooms canvas sunflower cut in half).  We added some eyes and some punched half circles for layered feathers and she is going to stick a small treat in here for her teacher.  WHOOOOOO wouldn't want to get this cute owl?


And one last Valentine--a silly one!  Using up patterned scraps with these painted Linnie Blooms canvas hearts and LOTS of googly eyes--inside the card it says "EYE" love you lots!

Three Valentines done  (more to do).  Whether your Valentines are layered, from the heart, cute, or silly...they are OH so special when they are hand-made.
~Kelly

Pin It

Monday, December 2, 2013

Be warm...


Baby, it IS cold outside. Time to dig out those mittens...inside and out! We are all playing with the Linnie Blooms canvas mitten shapes this week and they are just screaming for fun embellishments!
As I mentioned in a previous post, I really do not like shopping. Gift wrapping is where my heart lies. The present inside may not be that great, or it may be a gift card, but a pretty topper makes it special.
For these tags (that I cut into 3 1/2"x 6" from old file folders), I painted the canvas mittens with acrylics and added dashes of Picket Fence Distress Stain, outlined in Rock Candy Stickles. I put a layer of Aleene's Tacky Glue at the top and pressed in tiny clear white seed beads to make the cuff. Into my bin of doo-dads, I found and added some felt snowflakes, metal snowflake brads, wood snowflakes (painted and Stickled), and pearls. I love that these canvas shapes can hold up to anything added to them (they are quite heavy when you start adding paint and beads and Stickles--regular paper couldn't hold up to this kind of "beading"...hee hee).
You can see how the Distress Stain tames the pattern of the paper at the top (I stained the paper, then ran it through the printer when it was dry). 
 
 
I often add sayings and phrases inspired by song lyrics to my projects, and here I am doing it again! I liked this dotty paper, but found it just a bit too bold for what I needed. By adding a few layers of Picket Fence Distress Stain (and drying it with a heat gun between layers), I was able to tame the background and make it ready for running through the printer.

So, while I continue to "pro-craftinate"...that is avoid putting up Christmas decorations (or maybe it is because we are remodeling our bathroom and I have a bathtub, toilet, double vanity, linen cabinet, etc. in my living room and there is no room for the tree)...I am reminded that I am wrapping these gifts in LOVE.
After all, shouldn't the whole season be wrapped in LOVE?

~Kelly
www.pinterest.com
 
Don't forget...when you are shopping at the Linnie Blooms online store, that you can use the discount code LB2013KS to get 10% off your order!


Wednesday, November 6, 2013

Be seasonal...

It's time to stop and smell the leaves.
It's also time to stop and shovel the leaves.  So many have fallen in the last few days, that I can't even see my driveway.  I'm not complaining, because I would much rather shovel leaves than snow.  That white stuff will be here soon enough.

Today, I'm bringing the leaves indoors too.  I'm adding another season to my Four Seasons project with the Linnie Blooms canvas long blanks.  Linda has been adding new shapes, and these Linnie Blooms leaves absorbed the color from Distress Inks and Distress Stains so vividly.  I stamped a subtle swirl pattern on top too. I used hot glue to attach my leaves to the wire stem and canvas long blank so that I could "sculpt" some shape into the leaves.  Using a hot glue allowed me to push, raise, and wrinkle the leaves to give them even more texture and dimension. 

With mason jars a hot trend right now, I traced one onto vellum paper from clip art I found online.  Once again, I painted a chevron background by taping off the pattern with Scotch blue painter's tape (my new love).  There is also some twine and wire in there too. 
I didn't want to overwhelm this canvas...sometimes it's hard for me to tell myself to "STOP ADDING MORE ITEMS".  But, I'm happy where I stopped with this one. 


Autumn is a second spring,
and I am taking time to recognize each leaf as a flower.
~Kelly


Pin It

**Remember...just for my beloved followers, I have a SUPER discount code for you. If you want to place an order at Linnie Blooms online store, you can shop here... http://lindabarutha.com/shop/. Use the code LB2013KS and you will get 10% off your order. Enjoy!