Showing posts with label leaves. Show all posts

Wednesday, October 8, 2014

Create for the door (again)...


With all the wreaths I have made, one would think I live in a house with 1000 doors.  The truth is, I only have 2.  But, I like to re-arrange and update and refresh and change my door decorations a LOT!

This berry wreath has been around my house for awhile, so I though it was time it got a makeover.  I used a large (5") letter "S"  for Starsky and small (1") numbers for our address and an oak leaf (from the 5 piece leaf set) all from Unique Laser Designs. Twinkling H20s are my new favorite watercolor and they added a sparkling shimmer to the oak leaf and to the numbers.


For the "S", I used Distress Stains, creating overlapping stripes along the grain of the wood and then I added some random criss-cross swipes with more Twinkling H20s.

I added that oak leaf with a removable adhesive so I can replace it with different shapes depending on the season.  I'm thinking an ornament for Christmas, a heart for Valentines Day, a bunny for Easter, a flower for spring.  Looks like I have some more creating to do!  Thankfully, Unique Laser Designs has a shape for every need and for every holiday!

~Kelly
Pin It

Wednesday, November 6, 2013

Be seasonal...

It's time to stop and smell the leaves.
It's also time to stop and shovel the leaves.  So many have fallen in the last few days, that I can't even see my driveway.  I'm not complaining, because I would much rather shovel leaves than snow.  That white stuff will be here soon enough.

Today, I'm bringing the leaves indoors too.  I'm adding another season to my Four Seasons project with the Linnie Blooms canvas long blanks.  Linda has been adding new shapes, and these Linnie Blooms leaves absorbed the color from Distress Inks and Distress Stains so vividly.  I stamped a subtle swirl pattern on top too. I used hot glue to attach my leaves to the wire stem and canvas long blank so that I could "sculpt" some shape into the leaves.  Using a hot glue allowed me to push, raise, and wrinkle the leaves to give them even more texture and dimension. 

With mason jars a hot trend right now, I traced one onto vellum paper from clip art I found online.  Once again, I painted a chevron background by taping off the pattern with Scotch blue painter's tape (my new love).  There is also some twine and wire in there too. 
I didn't want to overwhelm this canvas...sometimes it's hard for me to tell myself to "STOP ADDING MORE ITEMS".  But, I'm happy where I stopped with this one. 


Autumn is a second spring,
and I am taking time to recognize each leaf as a flower.
~Kelly


Pin It

**Remember...just for my beloved followers, I have a SUPER discount code for you. If you want to place an order at Linnie Blooms online store, you can shop here... http://lindabarutha.com/shop/. Use the code LB2013KS and you will get 10% off your order. Enjoy!
 

Tuesday, November 20, 2012

Whatever is festive...

These two-sided turkey candle rings are highlighted over on the Fiskateer blog today...go take a peak!


~Kelly
Pin It

Thursday, November 3, 2011

TAG!...you're it!

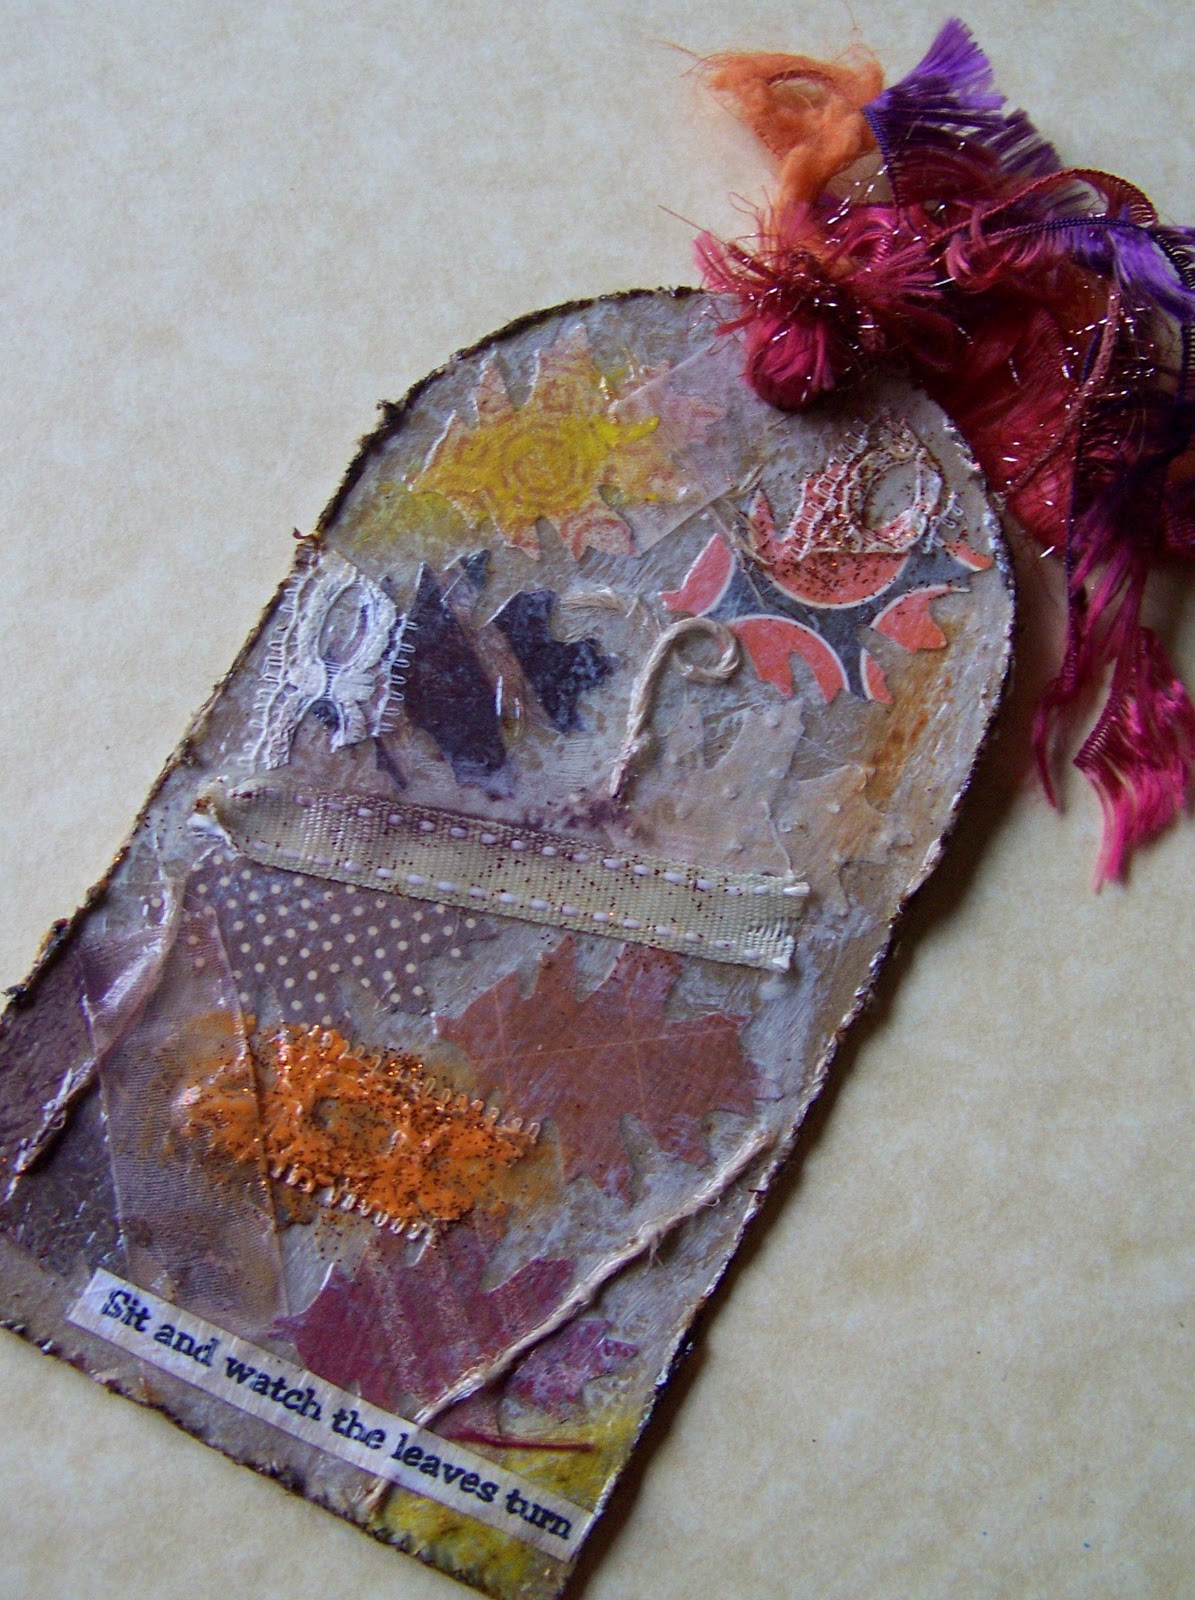
I don't make tags very often.  In fact, I don't play tag very often either. But for this challenge...I got to "play" with tags. A tutorial over on the Fiskateer blog got me started punching, white-washing, layering, coloring, stringing, and adding ribbon, I just couldn't stop.


I started with a cereal box. 2 points for me for being "green"! I cut out 2 tag shapes and then glued on some punches (a Martha Stewart apple for one and a Fiskars "Oakey Dokey" leaf for the other). I glued these on and then started adding other items. I just started digging around through my stash of "scrap" and found all sorts of interesting things...felt circles, buttons, fringe, lace, twine. You know, all of those bits and pieces that are just too precious to throw away yet tend to sit in the bottom of your bin. Now is your chance to use that little 1 inch scrap of ribbon that you've been hoarding, I mean, saving. After I glued these items on, I added some water to some white acrylic paint and white-washed the whole tag. I wiped some off in some areas and left the white on in others. 


After the tags dried, I added some color with paints, inks, oil pastels, stickles, and then added a simple phrase to each tag. I covered them all with Mod Podge and let them dry. They took a
L O N G time to dry. I had to practice my patience! Finally, I punched holes in the top and added more ribbon scraps. Unfortunately (or fortunately), I could make 1000 tags and still not put much of a dent in my ribbon scraps. Well, maybe a 1000 would make a dent.

A big "thank you" to Lead Fiskateer Cheryl for getting me to "play tag". Let's see your tags. These would be great to add to a bottle of wine as a hostess gift, don't you think?