

I made these pumpkins about 5 years ago, and even though they get squished into a plastic bin for storage after Halloween every year, they've held up very well. Except a few have gotten their "stem" pulled out by a Golden Retriever I know that likes to chew on sticks (we should have named him "Chip").
They are "sew" easy...I thought I would share them with you.
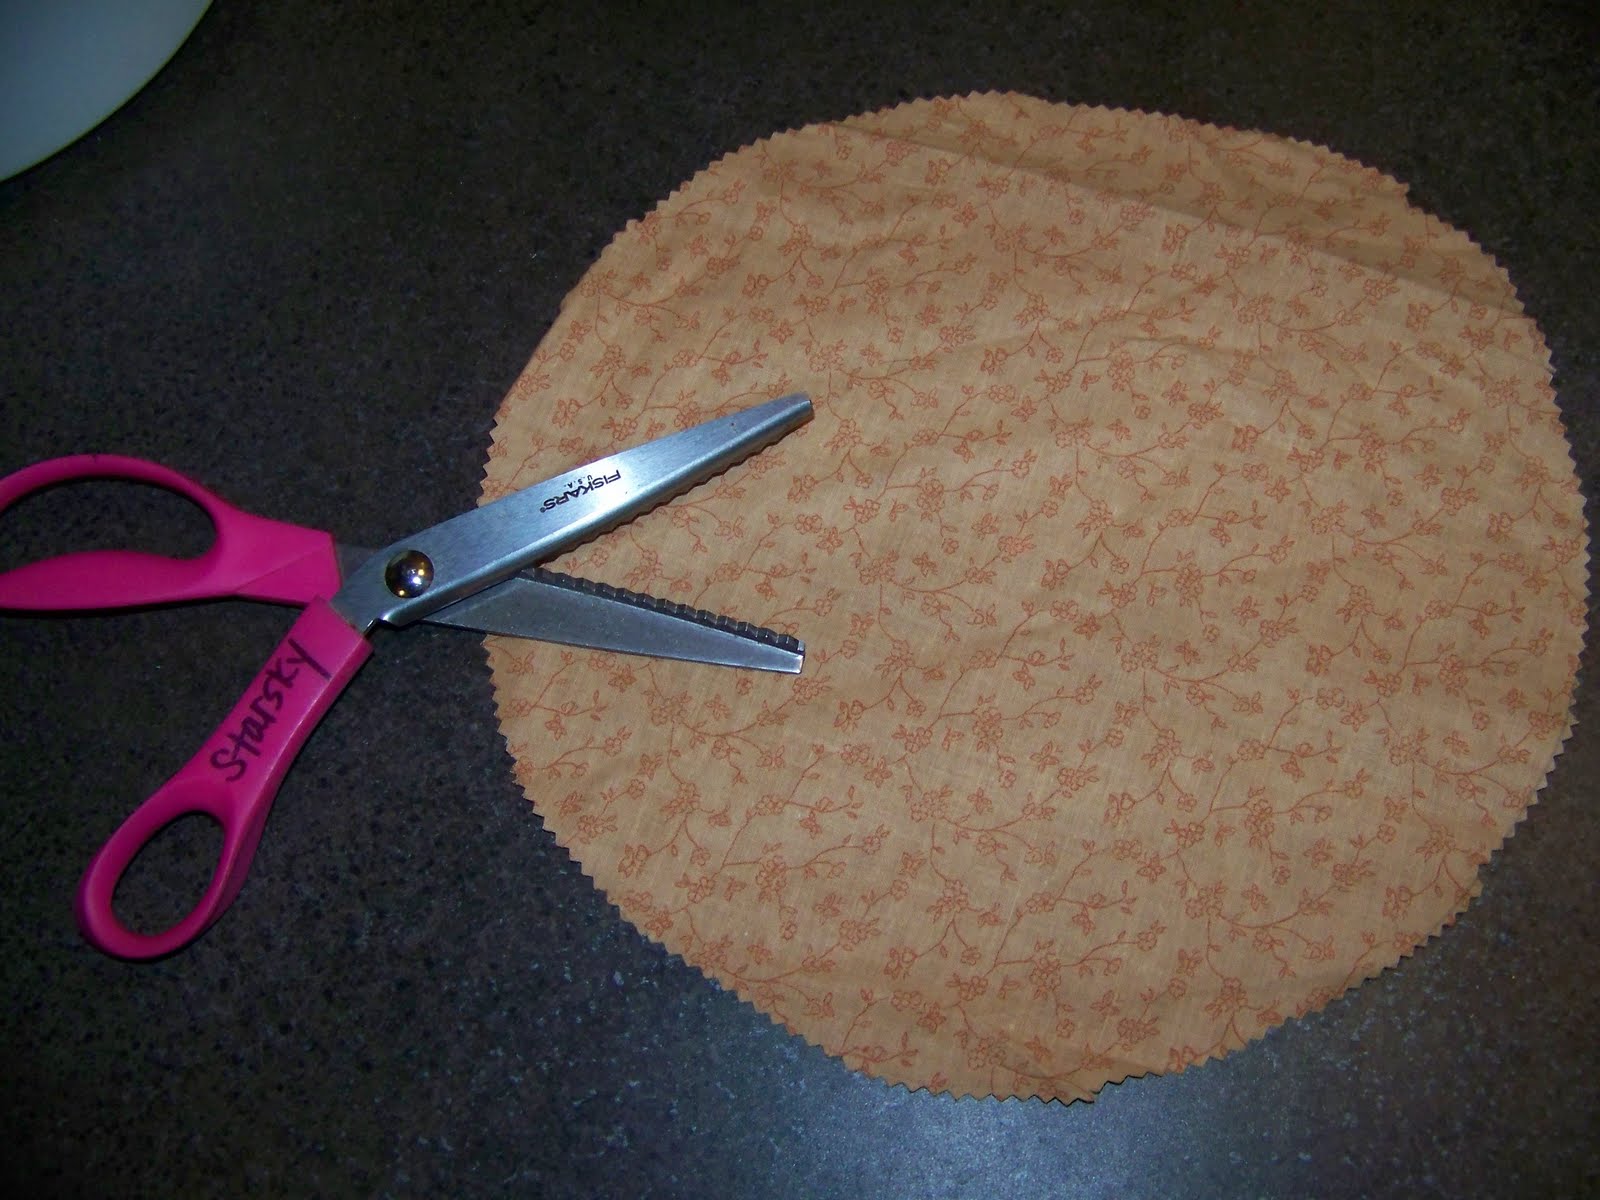
I start by using a bowl or template to draw a circle on some material, and then cut out the circle (I like to use pinking shears to avoid the un-ravelling edge).


I add a little "filling", pull the thread, add a stick for a stem, and tie it up.


I add some ribbon scraps for leaves/vines. After I've made a few pumpkins, in all different patterns, I take 3 or 4 and hot glue them together.


I've made my own pumpkin patch for a fall display in the family room and around the flower centerpiece on the dining room table. Let me see your pumpkin patch!

Fall is in the air, literally, in the air, hanging between rooms...I made this 2-sided Halloween banner for a challenge over in Fiskateerland a few weeks ago. I hung it up and was happy, but it just needed something more. I decided to tie on some scraps of fabric cut into strips, and now it is complete!


No comments:
Post a Comment